Monday, March 29, 2010

Roast Beef

I had this huge chunk of beef in the fridge and I don't even have the label to tell me the cut. I bought the chunk at my local butcher after admiring its beauty for a bit. Any hunk of meat with marbling just makes me weak in the knees. In any case, I have had a long week and really didn't want to do more work for dinner. I turned in my bar application today (yippee), made plans for my travels to Vietnam (whoopie), and prepared for my hearing on Wednesday (ehh). So tonight, I went with what I know best - if you combine simple but good ingredients w/ the appropriate cooking method then you're going to have a great meal. That's it. It is that simple. So here, all you need is a good piece of roasting beef, butter (about an ounce), and a pinch of salt.

Turn your oven to 375 degrees to roast.

This is my guy. Transfer it to a baking dish lined with 2 layers of tin foil. The first layer to prevent extra scrubbing and the second layer is used to wrap your hunk.


Rub the whole thing w/ butter and sprinkle some kosher salt on top. Gosh, just looking at this guy reminds me of Moses - do not cook a calf in its mother's milk. What have I done?!


After 1.5 hours in the oven, it looks like this. I'm so proud.


Now cut into the center... ahh, look at that pink. I love rare roast beef. At least, I can save myself $9 this week from buying a pound of good rare roast beef at the supermarket.

Brioche

I bought fresh bone marrow the other day and was dying to spread this meat butter on some toasted brioche... ahh yum. However, the bad weather in Boston really discouraged my venturing out to get a loaf... so what to do but to make one! It was a lot easier than I thought but required a lot of patience. The recipe suggested that I wait about 3 hours for it rise before I baked it but I only waited 2. It turned out great but I can't stop wondering "what if" I had waited the 3 hours...

Set your oven to 400 degrees.

You will need flour, milk, 3 eggs (1 for glazing), butter, yeast, sugar, and salt.


In a mixing bowl, combine 1 2/3 cups of flour, 3 T of sugar, 3 1/4 tsp of yeast, , and 1/4 tsp of salt. I actually also added 2 T of whole wheat pastry flour... I know, I just can't give it up with this WWP flour.


In another mixing bowl, combine 1/3 cup of WARM milk, softened butter (I used 3.5 ounces, a whole stick is 4 ounces), 2 eggs. Whisk well.


You can make a well in the middle of the dry ingredients or just slowly pour in the liquids and combine as you go...


It's a fairly sticky dough compared to say, pizza dough, but it shouldn't stick to your hands and fingers when you knead it. If it does, just add a bit more flour like 1/2 T at a time. Make sure you knead it well so that all the dry ingredients are dissolved, especially the yeast. You will be able to see the grains of yeast in the dough so keep kneading until you don't see it anymore.


Once it easily pulls away from the bowl, like the photo below, then you can set it somewhere warm and keep it covered w/ a towel. Allow it to rise for about 2 hours or until it doubles in size.


That looks good... now take it out and knead it some more (on a floured surface).


Again, it should be kinda' sticky but not sticking to your fingers as you knead it.


Now separate the 3rd egg and mix the yolk w/ some butter and 1/2 tsp of sugar. I really don't know why this picture is so dark, sorry!


After about 45 minutes to an hour, glazed the dough w/ the egg yolk mixture. How pretty is that?

Stick it in the oven at 400 degrees for 10 minutes then after that, reduce to 350 degrees, and bake for 20-25 minutes.


Once done, take it out and place on a cooling rack.


I really should have toasted my brioche before I spread the meat butter but I just couldn't wait! It was so delicious - both the brioche and meat butter.

Sunday, March 28, 2010

Childhood Memories II: Oeufs Au Plat

I have been very nostalgic lately. Oh my. I mean, this was one of the first very thing I made on a stove, by myself, and unsupervised as a kid was frying a sunny side up egg. My mother refers to this dish by its french name and that's what I still call it today. She usually gives me a small loaf of french bread, two sunny side up eggs, ground black pepper, and soy sauce. She instructed me to break the yolk, which I never wanted to because it was too pretty to look at, and mix the yolk with the soy sauce. I would then break off pieces from the french bread and dip it into the creamy blend. Somehow, the egg itself wasn't really so attractive anymore - I just wanted more creamy yolk! The trick is to not to overcook the egg yolk so I usually allow my pan to heat up really well (in other words, HOT) and cook the egg just until the whites are done.

This is Peter's first oeufs au plat so I was very excited and decided to make it fun for him. Look at all the cool cutters (meant for making bento boxes but worked like a charm here)! Now go and place a non-stick pan on your stove, turn up to a medium-high heat (7-8) and add some butter. It's just not the same with oil, it really isn't. Trust me.

(can someone tell me how i can remove the stain from my stovetop, please?!?!)


It spilled out a bit but I just trimmed it.


This one just makes me feel so happy.


I, totally, burnt my toast. Big dove, little dove.


Unfortunately, I don't have photos of Peter cutting the apple. He did a really good job and ate all the stars that lost a point before I got to throwing them out. Healthy snack!

Yes, there's also a bunny (for Easter, although I really should be be making matzoh ball soup for pesach).


Since that was our dinner, Peter and I ventured out into the North End for our so called coffee & cannoli date but ended up with a meat & peas aranci from Bova's and blueberry mousse cake from Lyndell's. We leave Mike's and Modern's to the tourists and suburbanites. :D

For some reason, we didn't see/taste any meat or peas in our aranini.


As for our blueberry mousse, it was a blah one for us. We didn't really enjoy all that white chocolate on the outside and the inside was blah. Should have just gotten a cupcake.


And look at what we saw outside our window today... it looks like quite the workout but I'm more excited for my Body Defined class tomorrow morning (yippee).

Saturday, March 27, 2010

Childhood Memories I: Water Morning Glory

Otherwise known as "chinese watercress" (name as it appears on most chinese menus) or "rau muống" (if you're Vietnamese). My mother bought this vegetable sparingly because it is very expensive here in Boston compared to out West or back home in Vietnam. I remembered that I fell in love with this vegetable and asked for it often, however, I was then teased for liking something that was used to feed pigs. Yes, WMG supposedly grows abundantly in Southeast Asia and is often mixed with grains then fed to livestock.

Depending on the season, they range from $3-7 a pound at my local Asian market. And I picked some up the other day (yippee). It's so simple and quick to make. All you need is some garlic, shallots (option), and salt to taste. I didn't add any salt to mine... just b/c I like it like that. Seriously though, HBP runs in my family so I have to be extra careful with what I feed my body.

Add a little canola oil to your pan and turn to medium heat.

My garlic is growing. Peel the shallots and chop it. Peel the garlic then smash it! Then chop it.


Take out your beauty and prepare to chop it up.


I cut off about a 1/4 inch at the ends. How pretty? Well anyway, toss it.


I chop the whole thing up at about 2 inches in length and then rinsed it well. It looks like a lot but it really isn't. It's kinda' like spinach, once it's cooked, it loses more than half its original volume.


Throw the shallots and garlic into your pan. I used the entire bulb of garlic! Let it sizzle and brown before you throw in your grass.


Once ready, throw in the grass. Who cares if it overflows - you're going to put a cover on it.


Cover it. It overcooks pretty easily so I would recommend checking it every 3-5 minutes. I cooked mine for about 10 minutes on medium heat (7) and it was still slightly overcooked.

I love how garlicky this thing is... between the two of us, we finished it.

Thursday, March 25, 2010

Pistachio Crusted Salmon w/ Lemon

Finally, I had some time to go to the gym today and my last class of the day was canceled (how cool is that?!). I went to Body Defined at Healthworks and boy, I got my ass kicked. The instructor asked us to do one-hand pushups with weights?!?! After the one hour torture (yes, I know, no pain no game), I went to meet Nicole at Ginza in Chinatown and ordered the Bento Box. It was so filling! We had a miso soup, shumai, chicken yakitori, shrimp & vegetable tempura, maguro sashimi w/ some tobiko, and teriyaki salmon. I washed everything down with hot green tea. :D

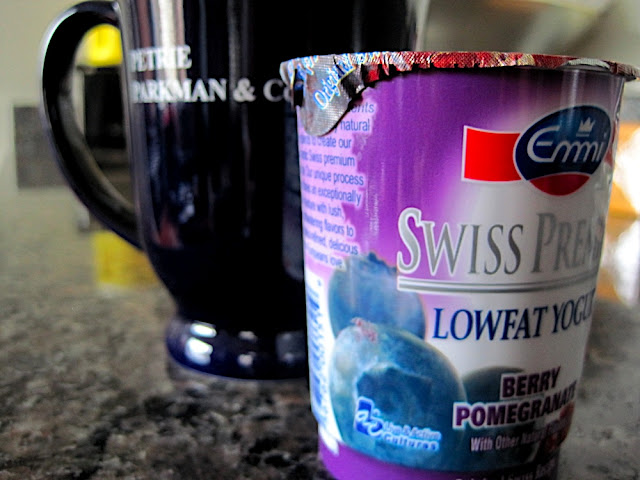
Before my other class, I treated myself to a latte (b/c someone once told me that Italians don't drink cappuccinos after 11 AM) and this Swiss Premium yogurt. I saw it at my local grocery store and found the flavor unique so I bought it. However, I found the yogurt too sweet for my taste.


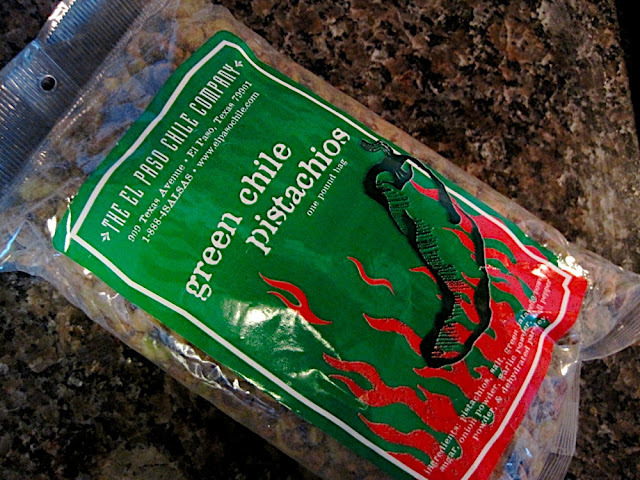
I wasn't even hungry by dinner time but cooked because one, I was in the mood and two, Peter has to eat. I made Peter take a walk with me to CVS so we could grab a tub of Ben & Jerry's. I got Chocolate Chip Cookie Dough (yippee). Okay, more about the salmon. A while ago, Peter's company gave us a goodies bag and in it was this bag of pistachios. I love pistachios but these are a bit too salty to munch on and so, I haven't' done much with them. But since I picked up a nice piece of salmon steak earlier... a lightbulb went off, enjoy.

Set your oven to 400 degrees.

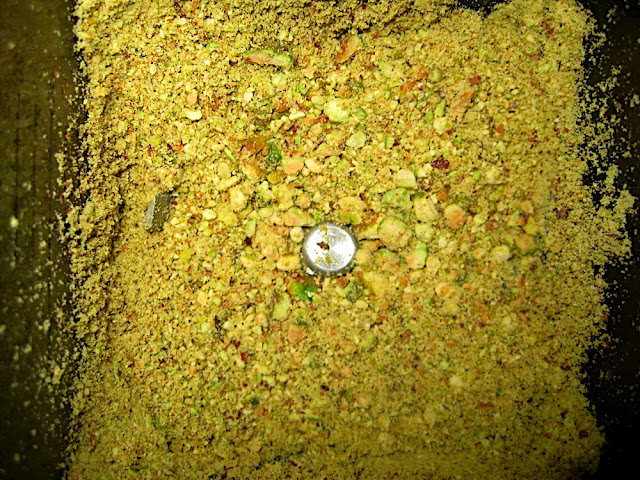
I imagine that these guys are probably really delicious with a nice beer. Measure about a 3-5 Ts to ground or more if you want to store the rest for use later. I grounded about a 1/2 cup of these bad boys.


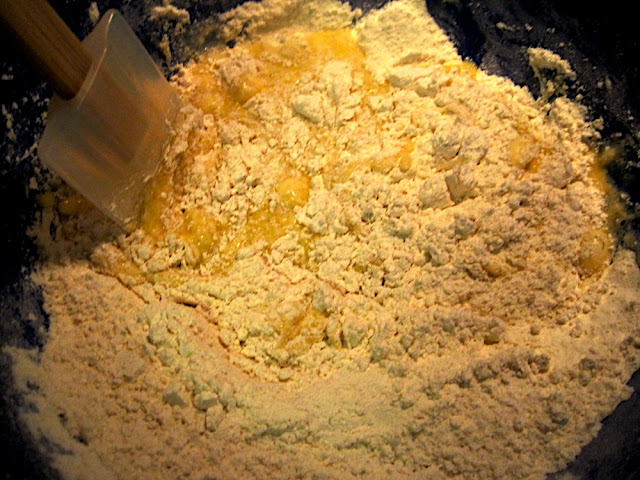
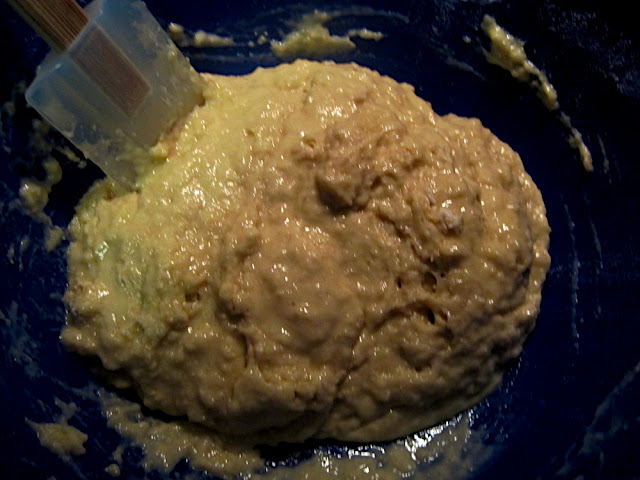
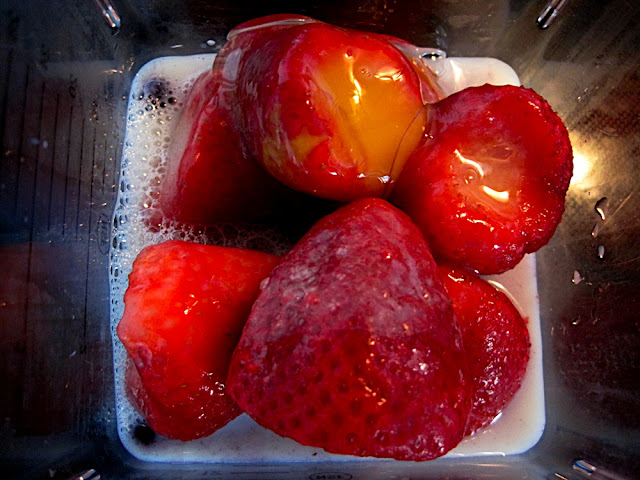
I love, love this blender. I will not make fun of Peter ever again for deciding to buy us this powerful machine. It can also knead bread! Now, how awesome is that?


It only took what seems like seconds for it to get to this point. I just pulsed it.


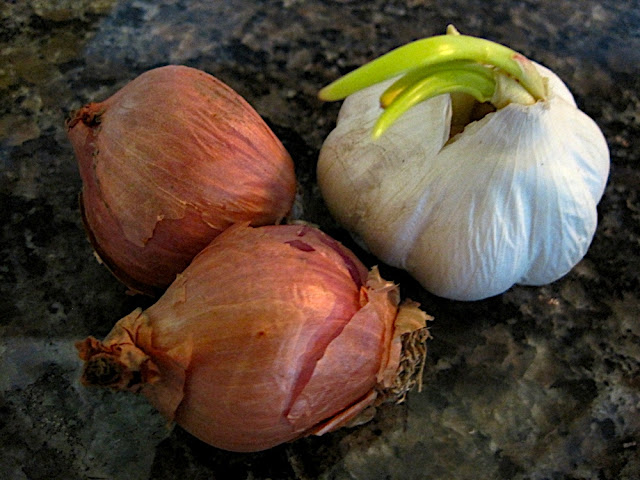
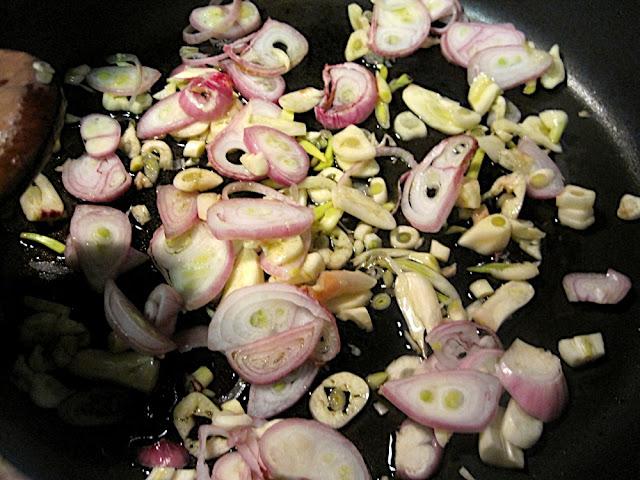
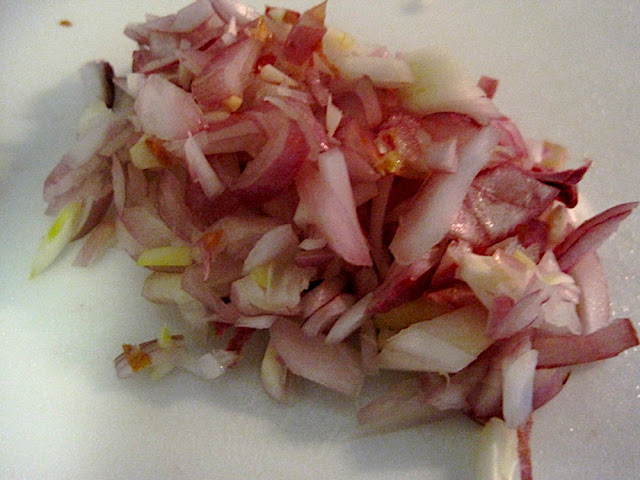
Now chop up some shallots. You can mince if you like. I just chopped them up - medium fine, I guess.


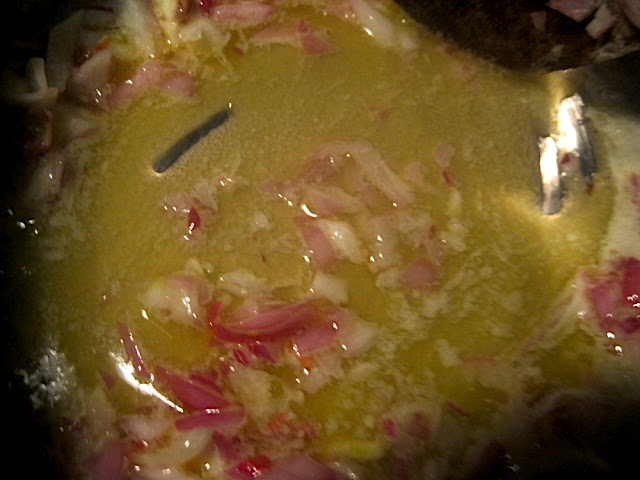
In a small pot, turn to medium heat, and add about 1/8 T of butter, or you can do half butter half olive oil, or just olive oil. I like options. I used 1/2 butter 1/2 butter made w/ olive oil. The idea is you want the pistachios/shallots to be nicely coated and not swimming in butter. It's not a sauce!

Butter because... a buttery pistachio crust just sounds so decadent.


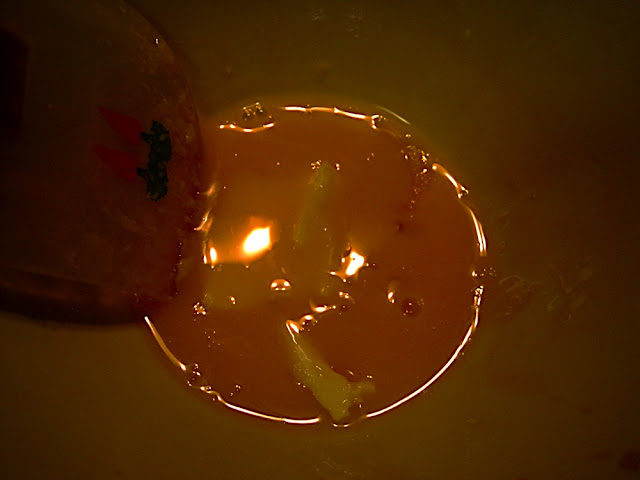
Throw in the shallots (when the butter is hot)... cook for about 1-2 minutes


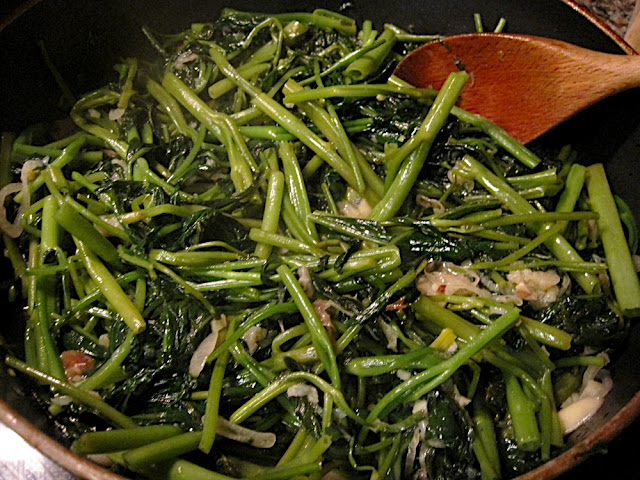
then add the pistachios (if you made more, then measure out about 3 Ts). Combine. It should only take a few minutes.


It should look something like this... take off heat.


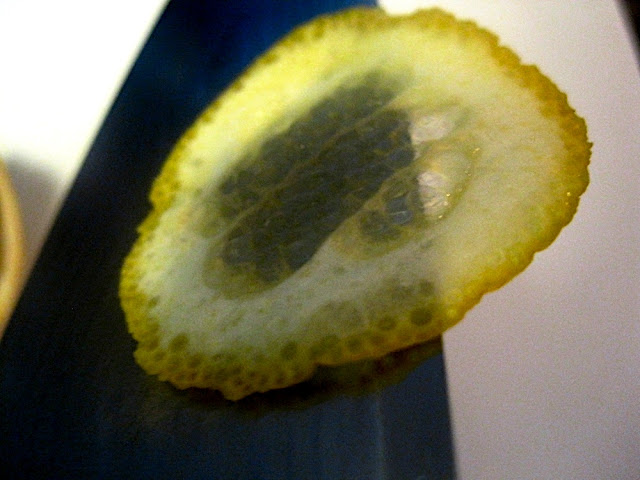
Take out your sharpest knife and slice a lemon as thin as you possibly can. Depending on the size of your salmon steak/fillet, slice as many as you would need to cover it w/o overlapping.


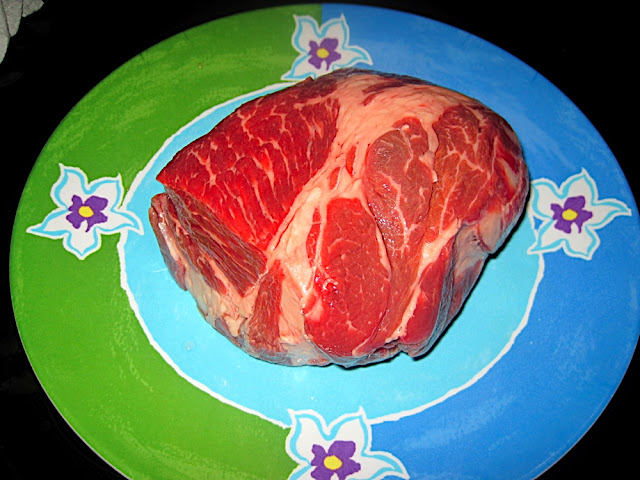
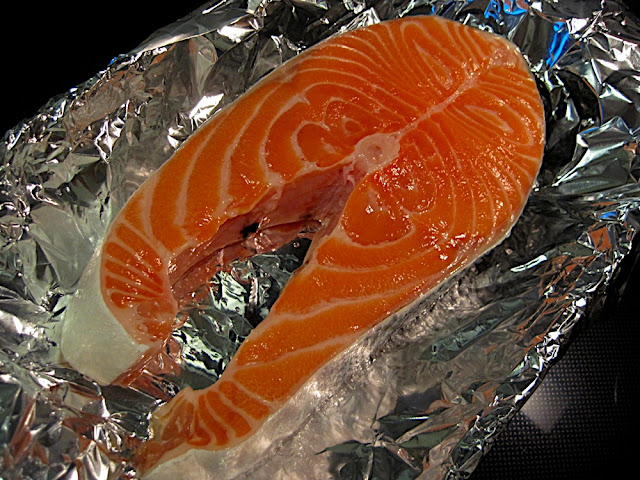
Wash and dry your salmon then place it in a baking dish. I lined mine with foil b/c I don't feel like scrubbing plus my dish has seen better days. Don't worry about coating the dish w/ butter or oil b/c the butter in the pistachio crust will melt and drip down to the pan while baking. Oh la la...

I love the marbling on this guy.


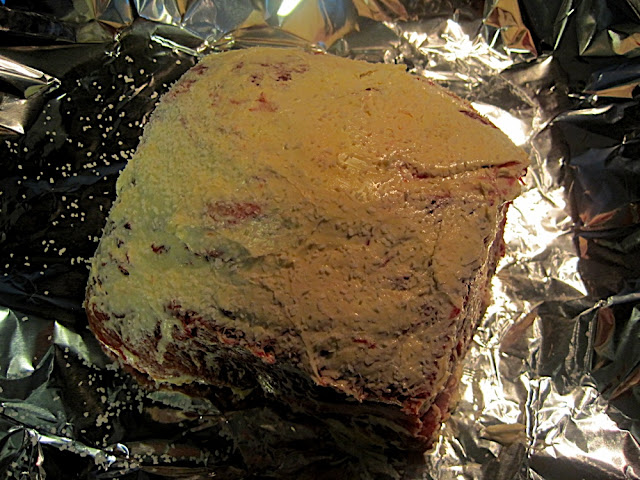
With a spoon or any other utensil/tool of choice, cover the surface with the pistachios.


Now layer the lemon slices on top. I sprinkled a bit of sugar on top of the lemon.


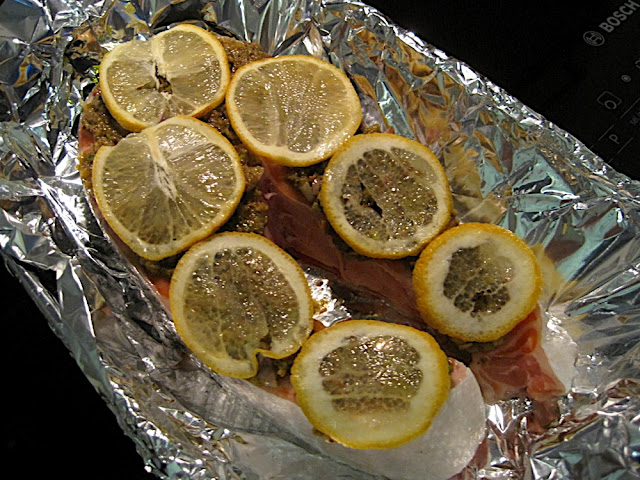
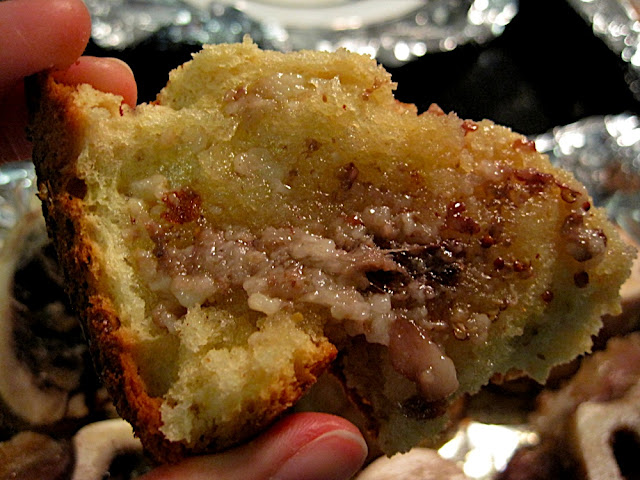
My salmon steak is almost 1.5 lbs and about 2 to 2.5 inches thick. I prefer my salmon slightly rare so I baked this guy for about 15 minutes uncovered at 400 degrees. It turned out just perfect.

Wednesday, March 24, 2010

Very Berry 7 Grain Pancakes

More meetings, phone calls, and emails later, I wanted something sweet. But I refused to have those boxed cookies hiding somewhere in my pantry. No, no, and no. Plus, I don't want any more stuff going straight to my you know where. And it's more important to train your taste buds to crave a different kind of sweet (whatever that means). In any case, I like to challenge myself when I know I have absolutely nothing in my fridge except a fancy jug of New Hampshire Grade A Maple Syrup (a reward after a long day of helping the family collect sap). Next, I went to my freezer and saw a ton of blueberries and strawberries. I know I have a bag of Bob's Mill 7 Grain Pancake mix in the pantry somewhere...

Take out your griddle or any other flat surface pan like stuff you could use to cook these babies. Add a bit of butter (enough to grease the pan and some) and turn to a medium heat. Allow it to heat up while you mix the ingredients.

In a blender, add 1/4 cup blueberries, 3-5 large whole strawberries, 1 egg, and a 1/5 cup of milk. The amounts of liquids you get depends on whether you use frozen or fresh. I used frozen and this recipe yielded enough liquids to use up to 1.5 cups of pancake mix.


Blend until all the ingredients are liquified. Like this,


I only wanted to make a small batch of pancakes so I used 3/4 cup of flour. I then added 3/4 cup of the liquified berries but played around w/ the recipe with a bit. The idea is that less liquid makes more cake-like pancakes. Remember, do not over beat your pancakes. I usually try to stir it gently to make sure all the flour is combine then let the batter sit for about 5-10 minutes.


I had my stove on 5.5 heat and cooked these babies for approximately 2 minutes on each side and I only flipped them once. The more you flip the tougher the pancakes.


Yeah baby... this is oh so good. I just had to heat it up. Warm maple syrup because there's just no other way to eat it.


Look at that texture... they were so nice and fluffy. And don't we all love purple pancakes?!


I topped mine with diced apples, a dash of nutmeg, and warm maple syrup. Totally hit-the-spot.