Thursday, March 4, 2010

Mini Pork Buns

Happy Anniversary Babe!

When Peter and I first dated, I often took him to this Chinese bakery right around the corner from where he used to live to get pork buns. After that, Peter wanted a pork bun almost everyday but I limited his consumption. Yes, I know, I'm mean. But who knows what goes in those things?! MSG? A ton of salt?! How long have they had the meat filling?! Is it mystery meat?! Anyway, you get the idea.

I also do come from two families where making things from scratch is not an option but a must. I've been yelled at for pressing on instead of gathering the pie crust and seen many of my first and second batches go into the trash. So, of course, it was natural that I chose to make these little puffs of heaven for my love on our anniversary. I could have written him a poem or wore nothing but sexy lingerie for a week. However, this way, I go straight to his heart without any fluff.

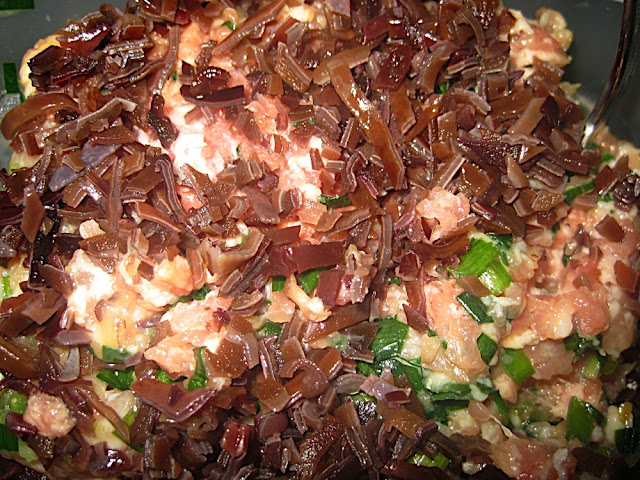
I used the same meat filling as I did in my dumplings recipe, except this time I added some wood ear mushrooms and thinly sliced scallion greens.

Sometimes, they're also known as Dried Black Fungus because, you know, that sounds more appetizing. :)
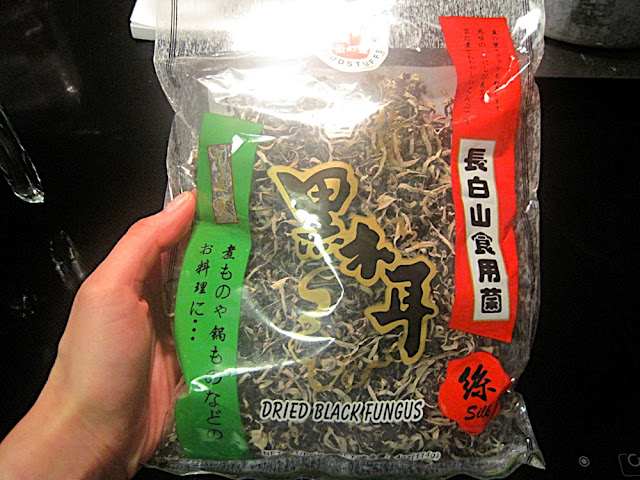


You gotta' soak these suckers for a little while. It didn't take very long but I soaked mine overnight because I wasn't planning on making my pork buns until today.
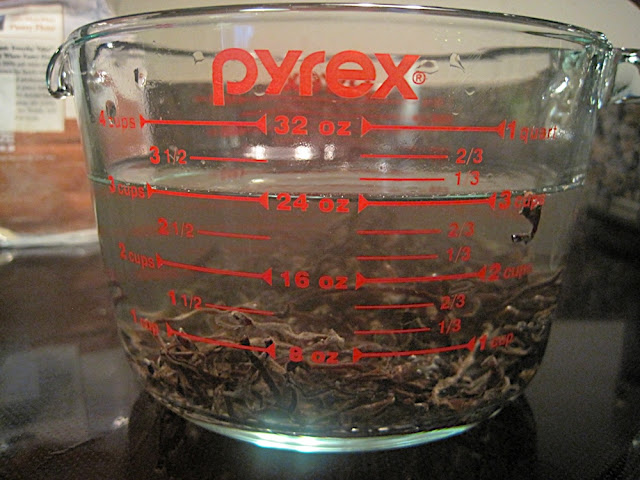


I roughly poured in about 1/2 cup of these guys and the next morning, whoa, I woke up to at least 3 cups full of black fungus. BTW, what a good deal.
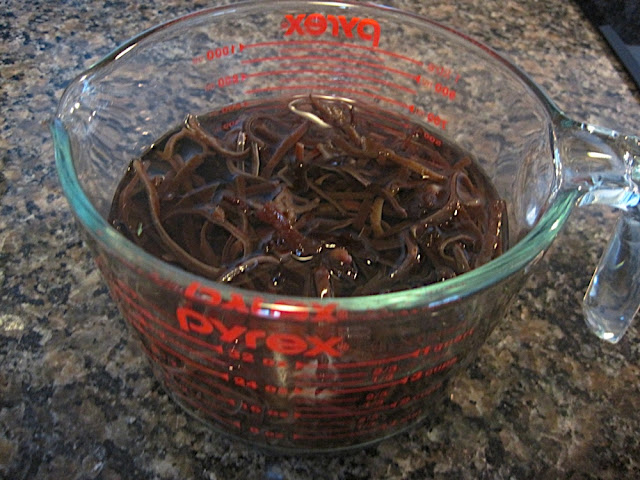


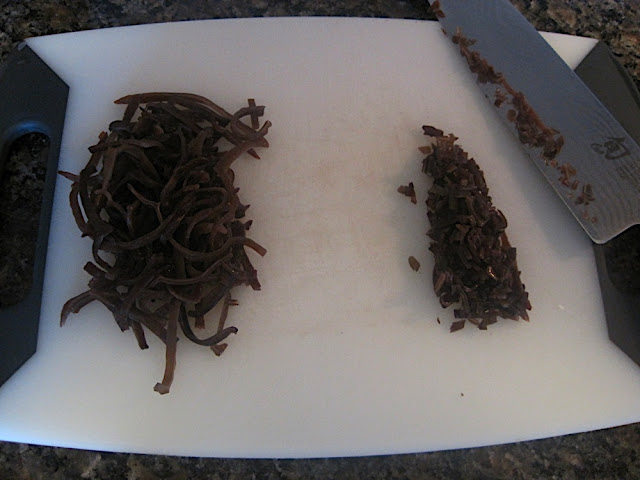
I simply minced them. Fine is good. Super fine is not necessary. Unless you have a food processor, then just throw them in there and pulse for a bit. Or press whatever buttons that will give you the same results. Like Peter, I'm sometimes stuck in the stone age and forget about the wonders of modern technology.


Throw them in the meat mixture and combine.


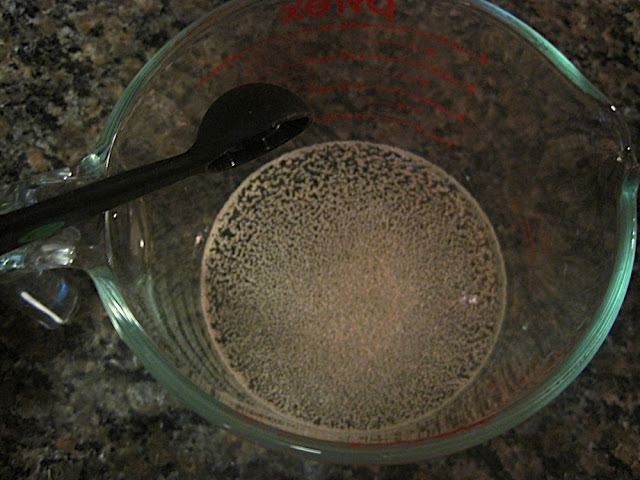
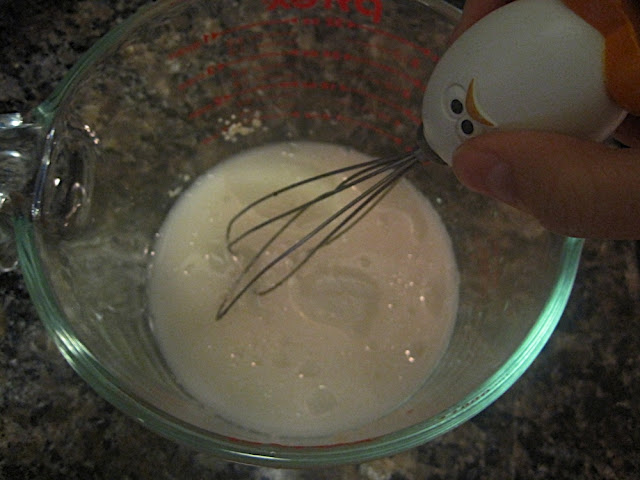
Now you will need 3/4 cup of lukewarm water. Add 1.5 teaspoons of instant yeast and 2 tablespoons of canola oil into the water. Whisk to blend.


Take a large mixing bowl, add 3 cups of all purpose flour, 2 teaspoons of baking powder, and 2 teaspoons of sugar. Combine.
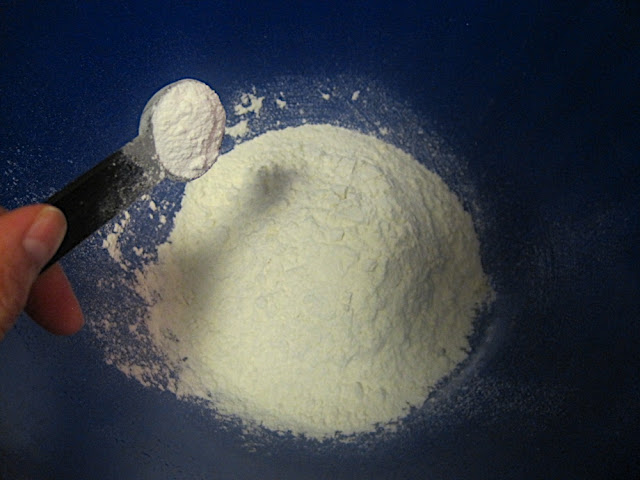


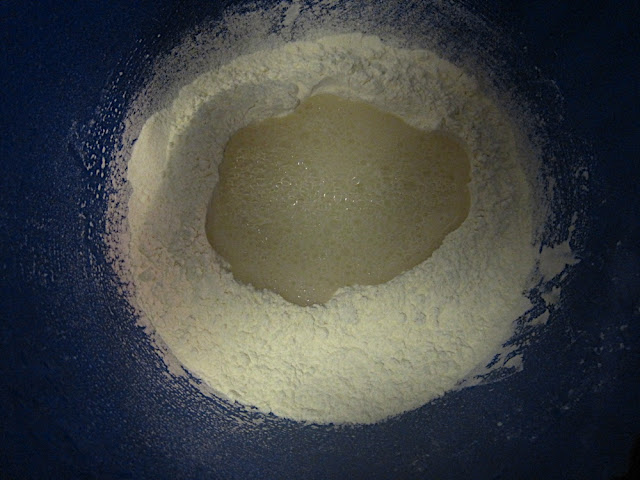
Now, make a hole or well in the center of the flour mixture. I used my oh-so-useful measuring spoon to help me.
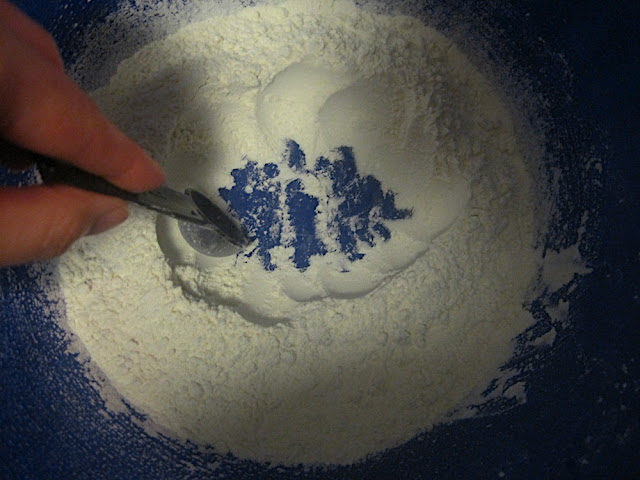


Pour the water mixture into the hole/well.


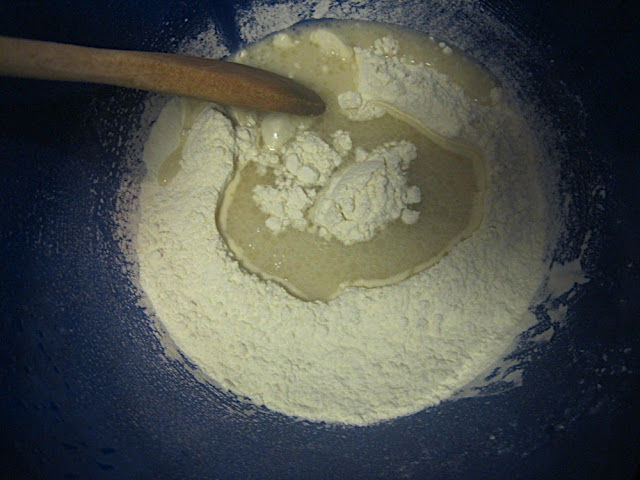
Use a wooden spoon (because they're green?) to slowly combine the flour and water: moving slowly from the inside then out to the edges. Got it?


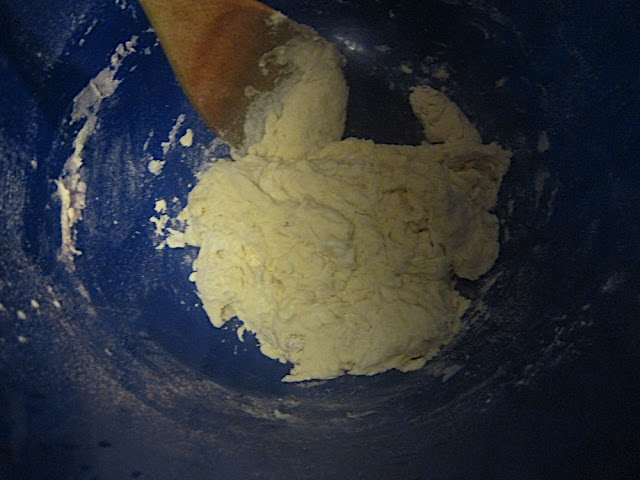
The dough should be kinda' raggedy so don't worry. You will have a chance later to press it all together and knead it out until it's smooth.


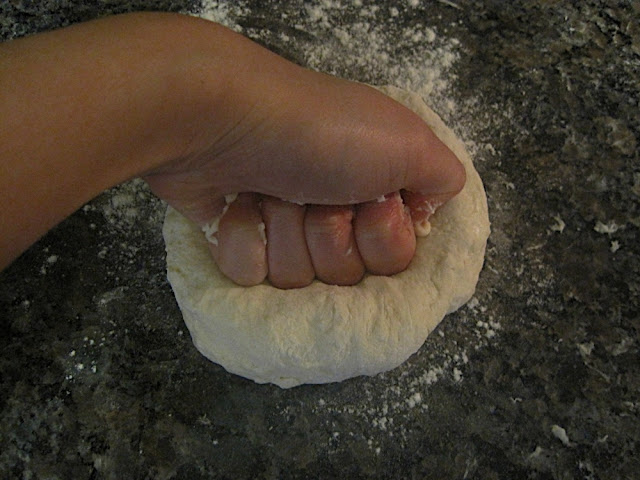
Lightly flour your work surface and place the dough on there. Now gather your dough together and knead it for about 5 minutes until it is smooth. The dough should bounce/spring back every time you press on it. The dough shouldn't be sticky, if it is, you probably need to add a little more flour.


Put the dough into a bowl and completely cover it. Place the bowl somewhere other than the refrigerator (unless you don't need to use it right away) to allow it to rise. The dough should double in size after 45 minutes to an hour. Once it's done, take it out and place it on your floured work surface, again.
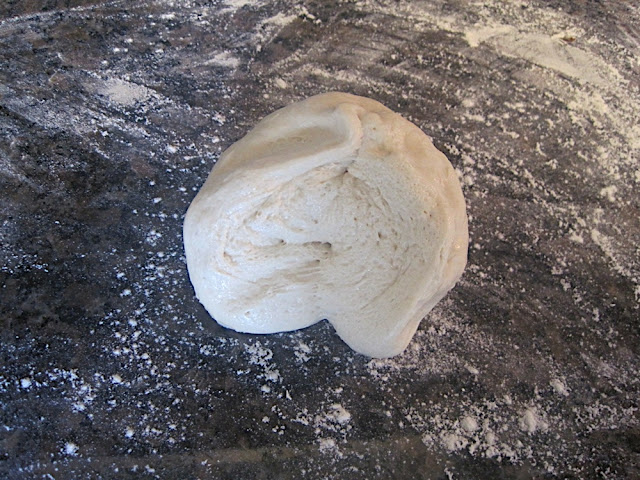


Cut the dough in half. Put the other half back into an airtight container or wrap it up in plastic so it doesn't dry out. Hand roll the other half into a log.
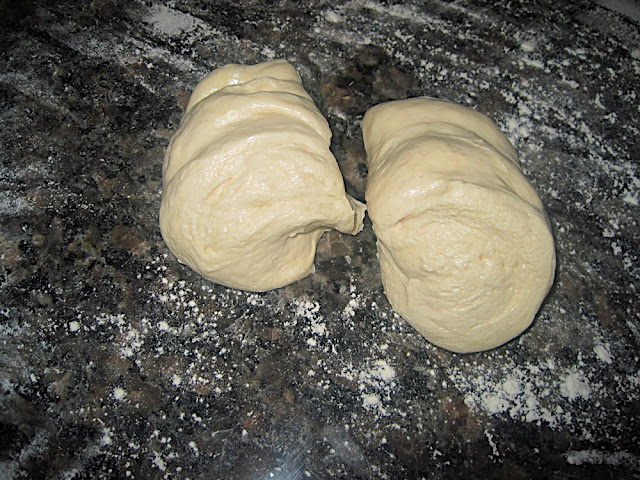
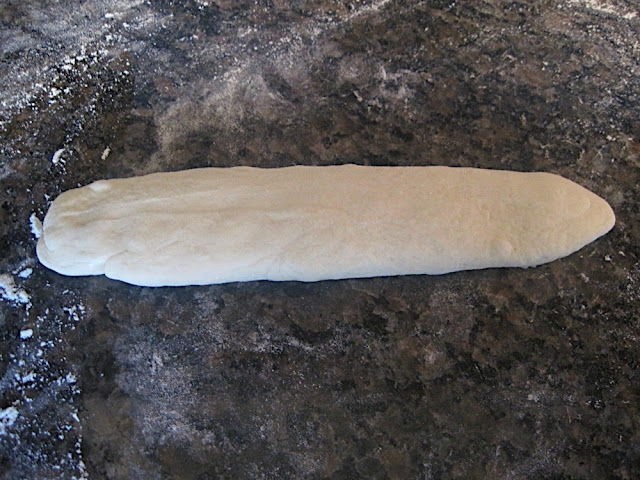


Cut the log up evenly. I am planning on making mini pork buns but if you're planning on making regular size ones then cut the dough into larger pieces.
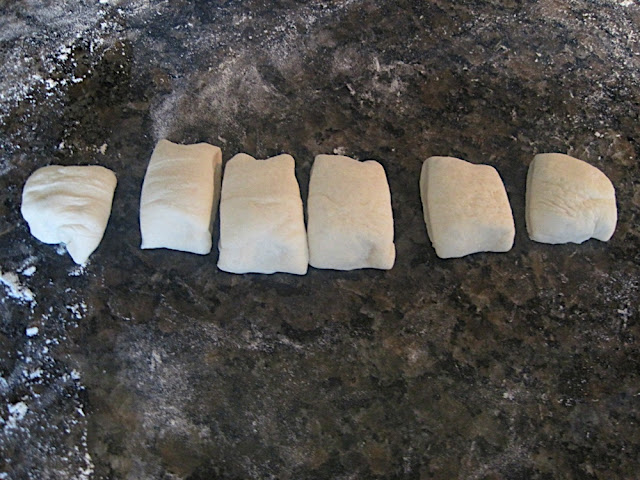


Roll it out. Try it get it as round as you possibly can. I did an okay job.
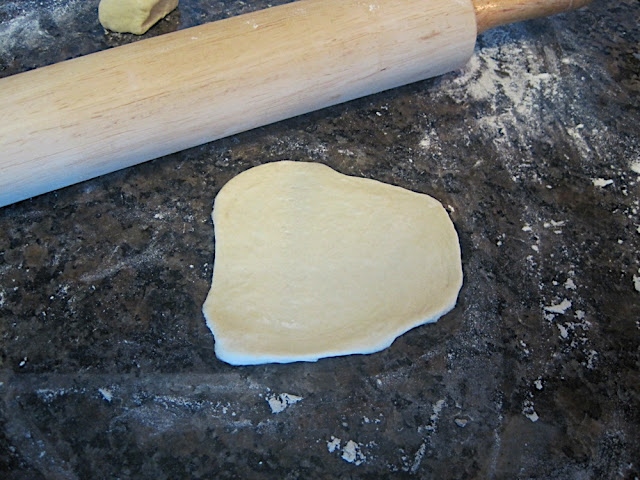


Pinch four sides/corners together so that it looks, almost, like a box.
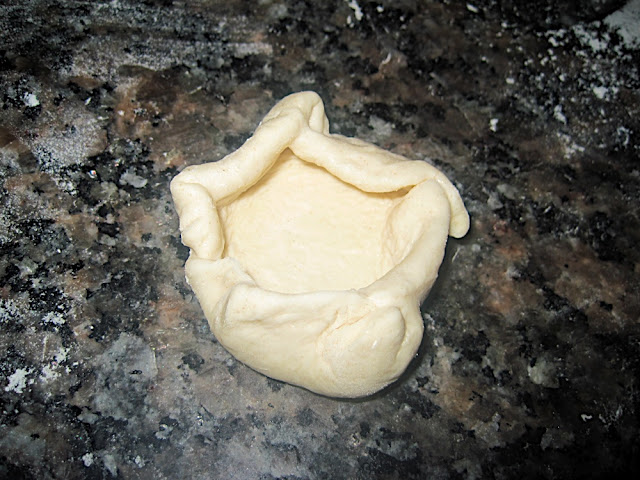


Scoop in the meat filling. Yup, you guessed it. I used my measuring spoon to scoop the meat into the dough.
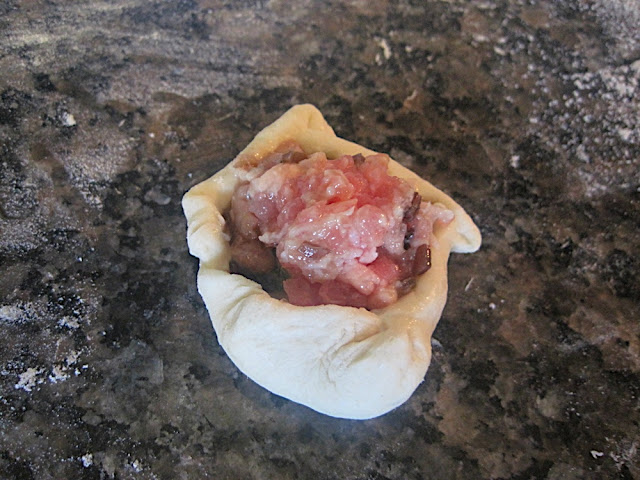


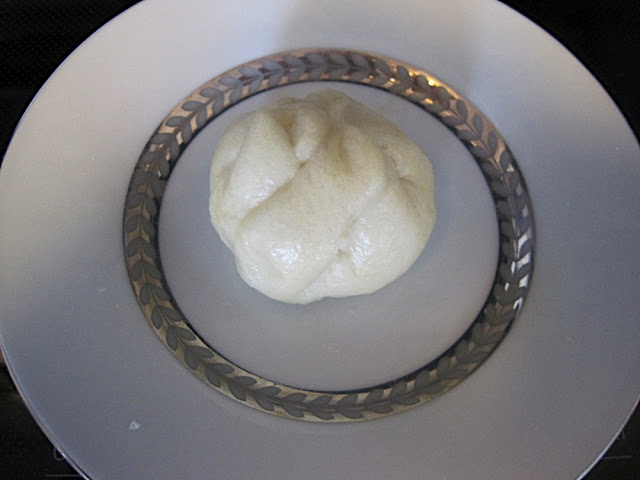
Pull up the sides/corners and kinda' twist it at the top to hold. I know it's a bit hard to see but you can do it.
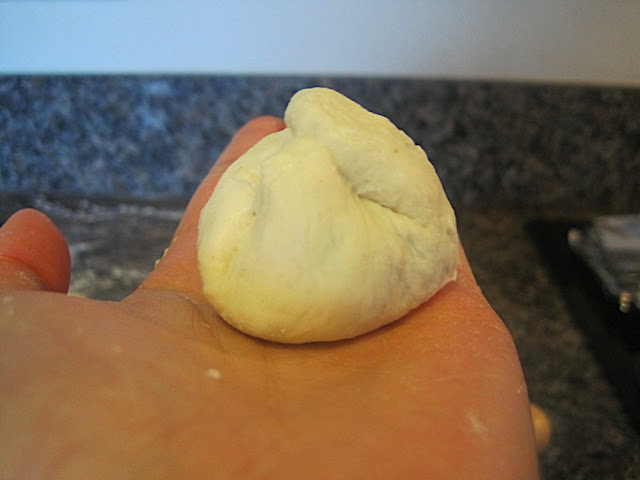


Placed the buns on individually cut out parchment paper then steam for about 7-10 minutes on medium heat (based on the mini size pork buns with about 1 -1.5 tsp of meat filling). I would recommend serving these guys immediately so don't steam them until you're ready to serve also. You can definitely make them ahead of time and freeze them too.
Wednesday, March 3, 2010

Busy Day Braised Beef Ribs

I got my case continued first thing this morning but I've still got a ton to do, finish preparing for my motion to suppress, readings for my classes, and shopping. :) I was so tired last night and could not find myself to make dinner. My Potsticker brought home burgers and sweet potato fries from Boston Beer Works, conveniently across the street from us, and I finished the entire thing... I woke up feeling a little bit of shame and heaviness in my bottoms.

Tomorrow, marks the very first time I met my potsticker a year ago! We're going out to dinner but he's not telling me where. I've got some guesses but I'll wait for the surprise. Anyway, this is what I like to cook on a busy and snowy New England day. I call it the "Anna's Busy Day Braise".

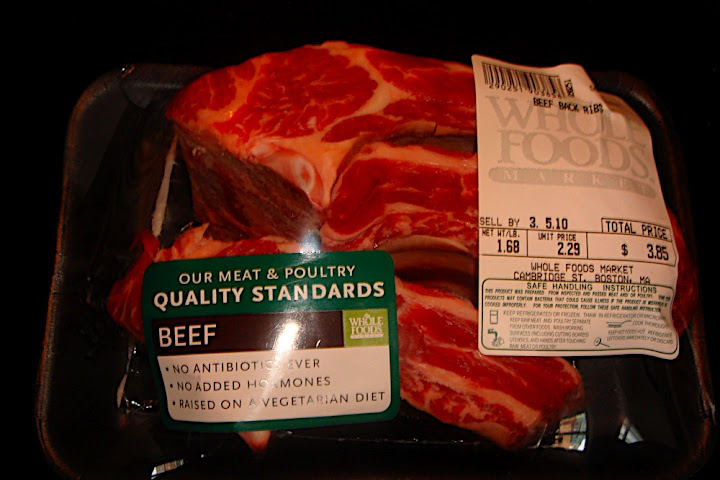
I scored some nice (and cheap!) beef back ribs at Whole Foods the other day so I am determined to put them to good use. There are spices involved but no need to run out to the store just be creative and use whatever you've got sitting on the shelves. Trust me.


Look at the beauty, I mean, the marbling on that piece of fine meat.


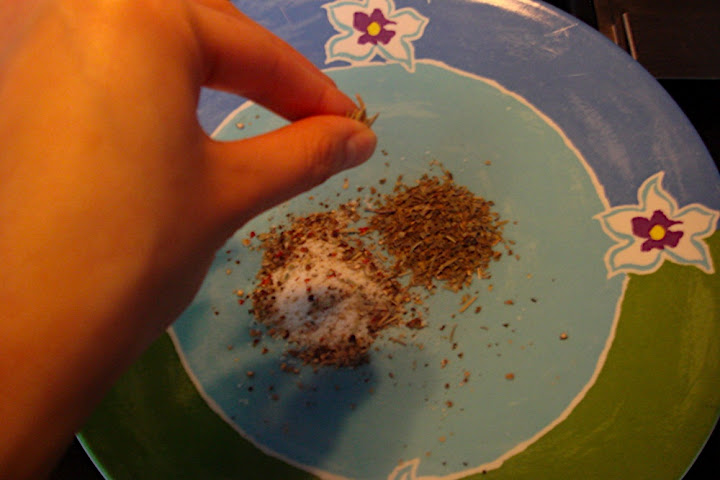
Take out a plate and add your spices. If all you have is a huge jar of Italian Seasonings, that's fine too. I just used kosher salt, some oregano, some thyme, and some rosemary. Oops, I lied. I also grounded a medley of peppers (peppercorn, red, and white) into the mix. I like the plate - it helps me feel like summer's here.


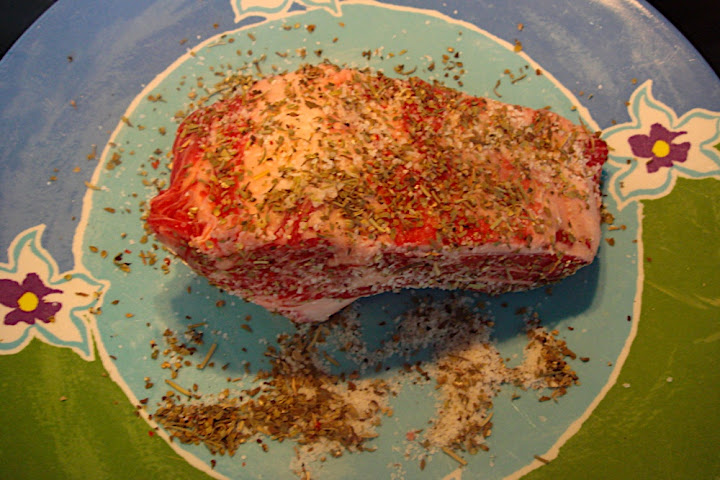
Generously rub your beef ribs with the spices and remember to press the spices into the meat. Then set aside.


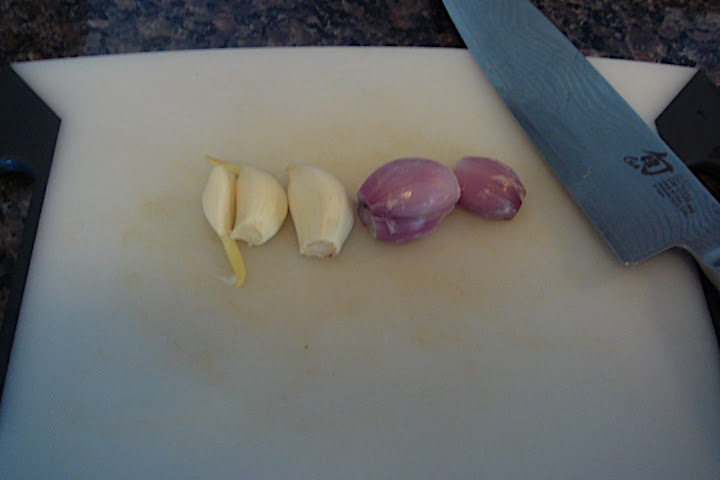
Take out some shallots, onions, and garlic. Leave them whole. Imagine that there is a picture of the onion... my onion is in the oven broiling, you should do the same to yours. It makes my apartment smell heavenly.


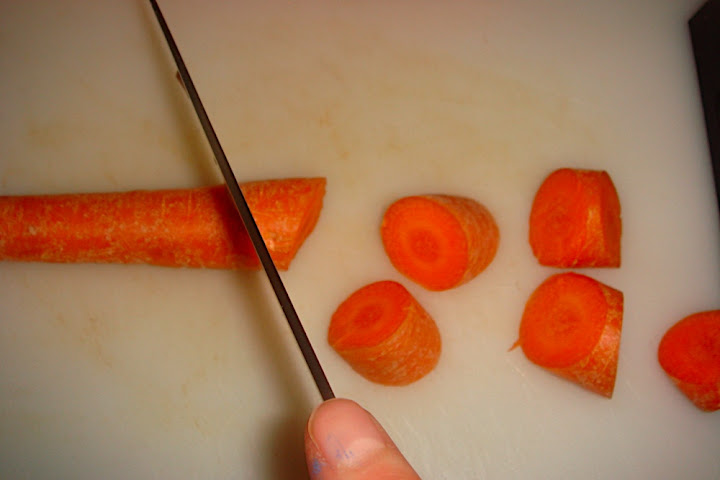
Carrots. Cut them into medium chunks but at an angle. Just keep switching up the directions as you cut it. Does that make sense? I DO NOT peel carrots. :D


Pour a little oil (1 tablespoon) into a large heavy pot. If you have one of those fancy dutch ovens, use that. Turn the stove up to a high heat because you're going to want to sear those suckers before you braise them. I clearly need better photography skills.


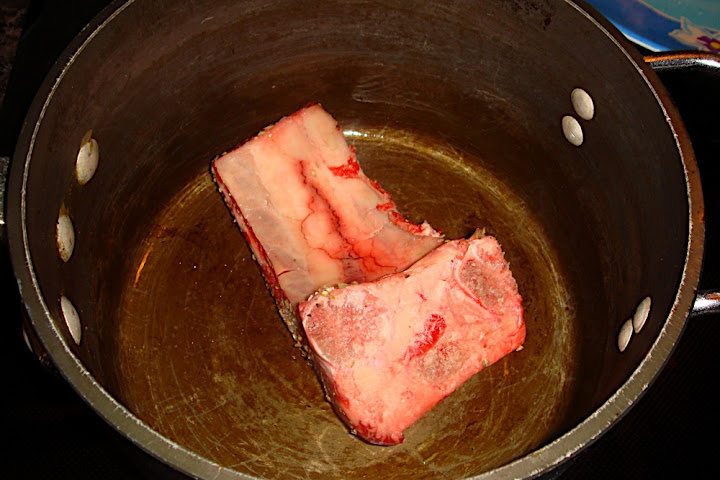
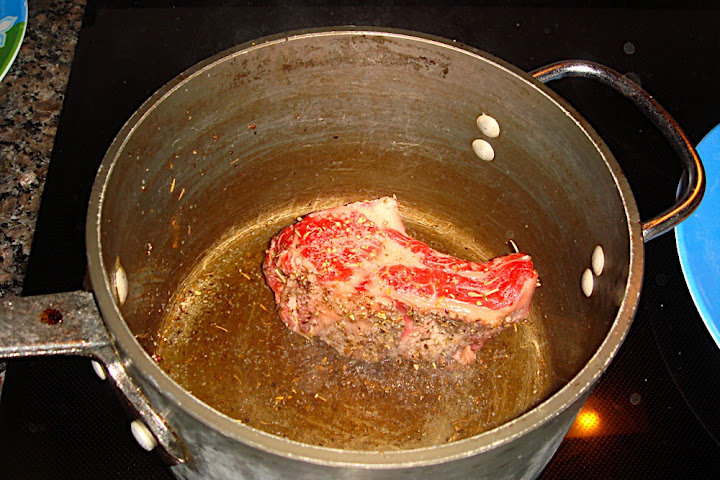
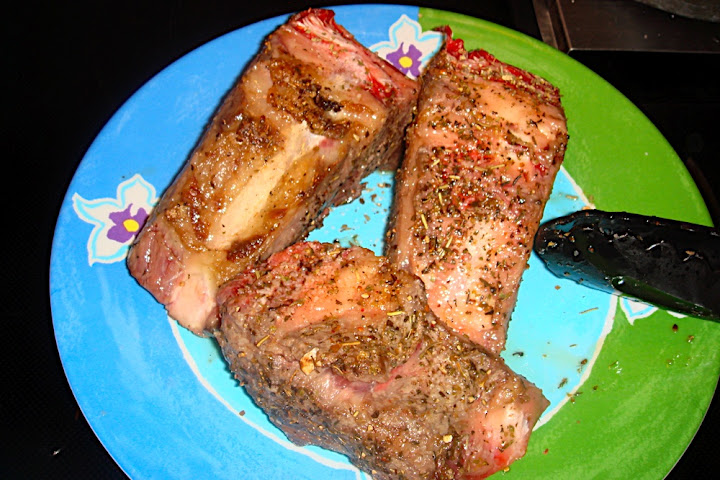
Wait until the pot is hot then quickly sear the ribs on all sides but not the back side due to the curve in the rib. There are two schools of thoughts on searing meat before braising, sometimes I do, and sometimes I don't. But with these ribs, I just really wanted to sear them to get that nice char on the fat, I mean, marble. You might only need to do it for 1-2 minutes.


Then do the same to the sides.


Put them all on a plate and set aside.


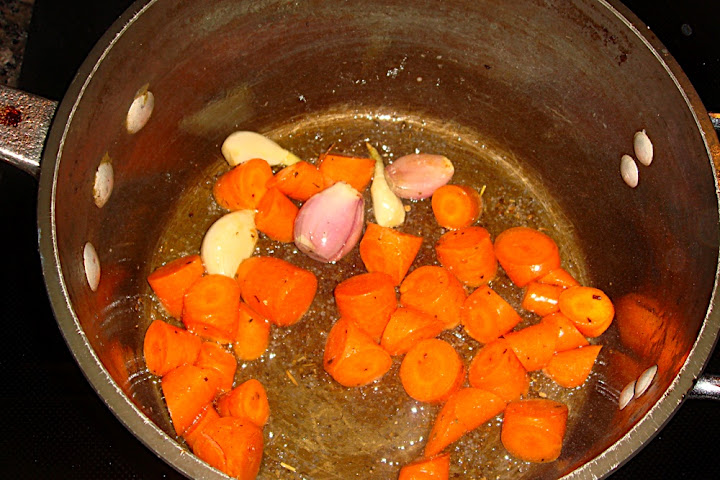
Now throw in the carrots, shallots, and garlic. Toss them in that nice fatty and spiced up oil until they're covered in all that goodness. Take them out and put on a plate.


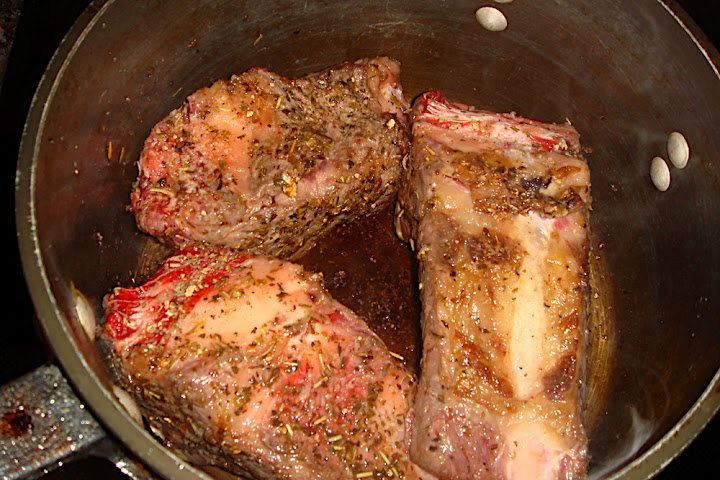
Turn the stove down to a low-medium heat and put the back ribs back in the pot.


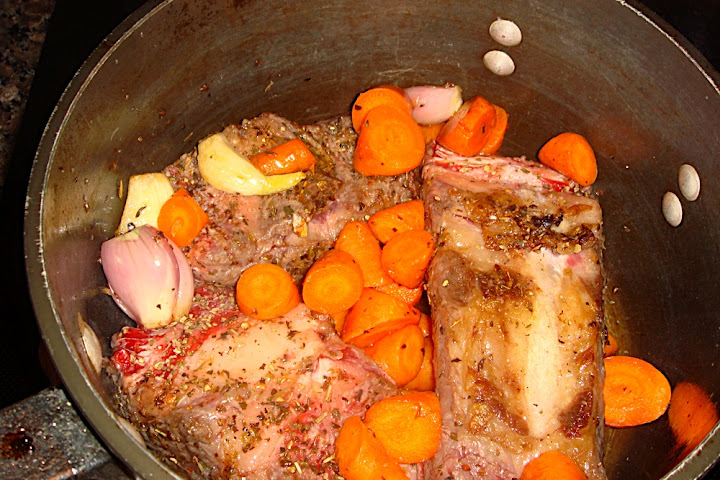
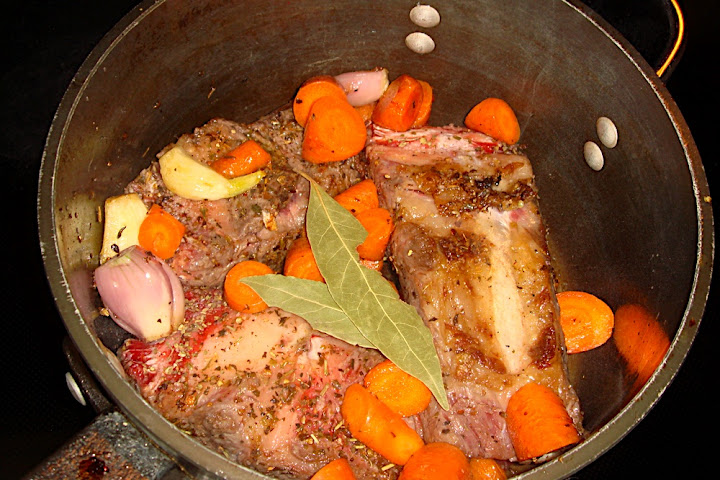
Add carrots, shallots, and garlic.


Some bay leafs.


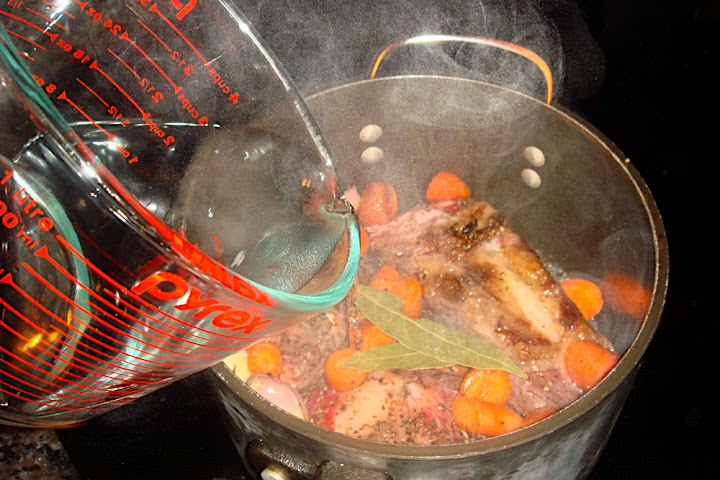
Add about a cup of water or broth if you have it on hand. You can use chicken or beef, it doesn't really matter, since these beef back ribs will also create a nice broth in the braise. If you have red wine or port you can also add an additional 1/4 cup of that too if you like. I've cooked these braises with and without red wine. It taste great either way.


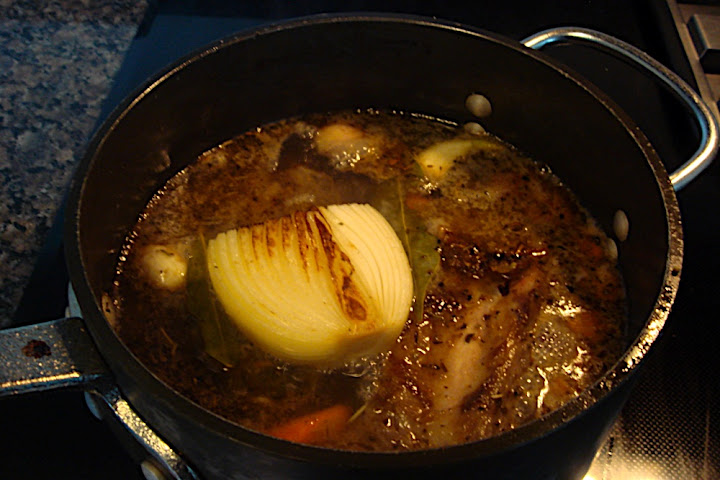
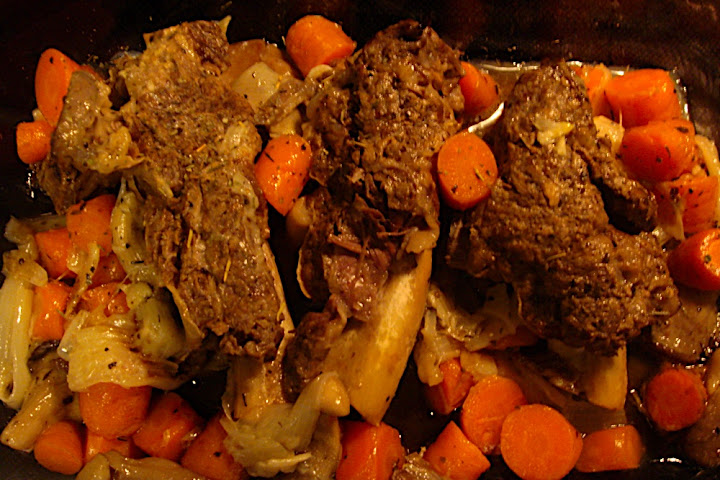
Remember that onion I had broiling in the oven? Well, I'm going to take that out and put it right in the pot. I am going to cook it, on low heat, covered for the next 2-3 hours while I catch up on some much needed work.


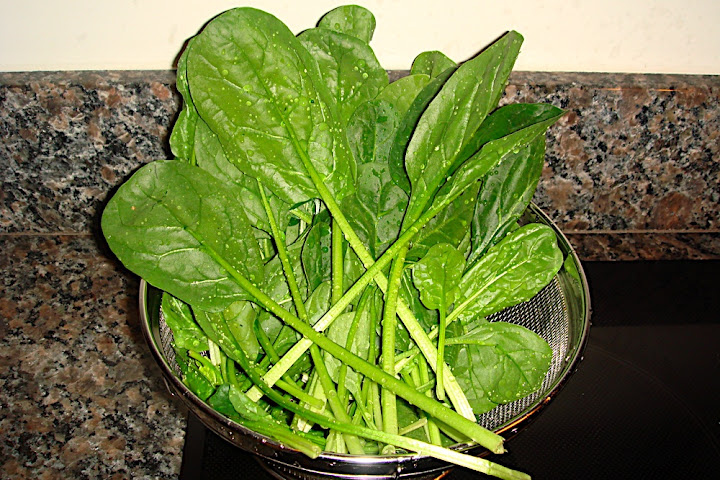
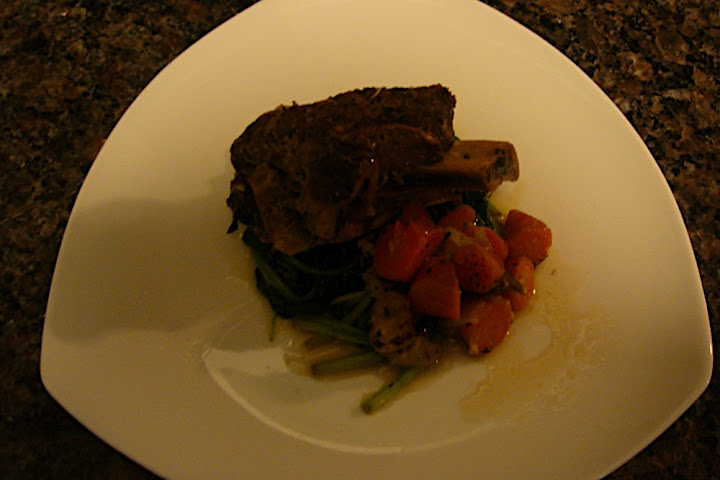
I've got some fresh spinach set aside since I will probably serve them later with the back ribs. I'll probably quickly blanch them and set a bed to serve the ribs on top.


3 hours later... after getting a lot of work done and, please excuse the bad photography, the meat is falling off the bone! It's so tender and flavorful even though I did not add any additional salt or pepper aside from what I used in the rub.


This was how I served it but again, the picture does not give this plate enough credits. Enjoy!


I will be speaking to 1Ls and 2Ls later about post-graduate legal fellowship opportunities. How exciting?!

Tuesday, March 2, 2010

Flourless Peanut Butter Cookies (FAIL)

The "chocolate powder" got me really excited so I just had to test it out but what to make?! I did not have much in my pantry and although I've got some flour - I still have absolutely no clue what to do with this Whole Wheat Pastry Flour. Soooo... that means flourless PB cookies! But you will see in a bit why this blog is labeled as "FAIL".

I first had flourless PB cookies about a year ago when I was up in NH doing some maple sugaring. Our host's wife is allergic to gluten so she baked flourless PB cookies for us. We had no idea the cookies were flourless because they were soft and chewy just like regular cookies. Anyway, we thought her cookies were so delicious and immediately asked her for the recipe. When she told us, chunky peanut butter, egg whites, and sugar - we were shocked. No butter and flour but yet so yummy?! I must try!

I have baked these in the past with much success but like I promised earlier - you will see why... I'm too stubborn. Set your oven to 325 degrees.


Remember those egg whites from the egg custard recipe? Well here they are and put to some good use. :)


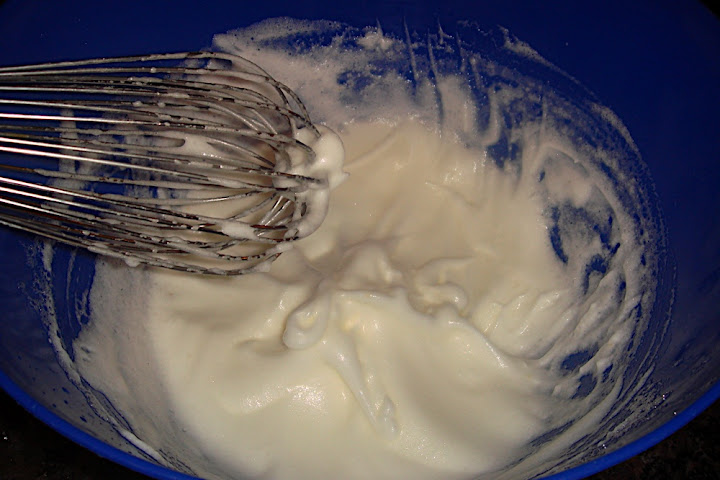
Now, whip the egg whites until they form a soft peak. I am not baker, at least, not a real baker. I do not own any machine whipper or whatever you call those things. Hand mixer? Anyway, I whipped mine by hand (fell off) until it formed a soft peak and in other words, the whites were now stiff enough that they will not drip even if you flip the bowl upside down. I flipped mine to test it.


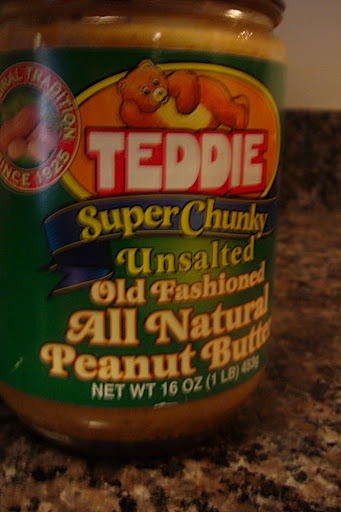
My favorite kind of PB! I love how that bear is totally striking a pose. I used about a cup.


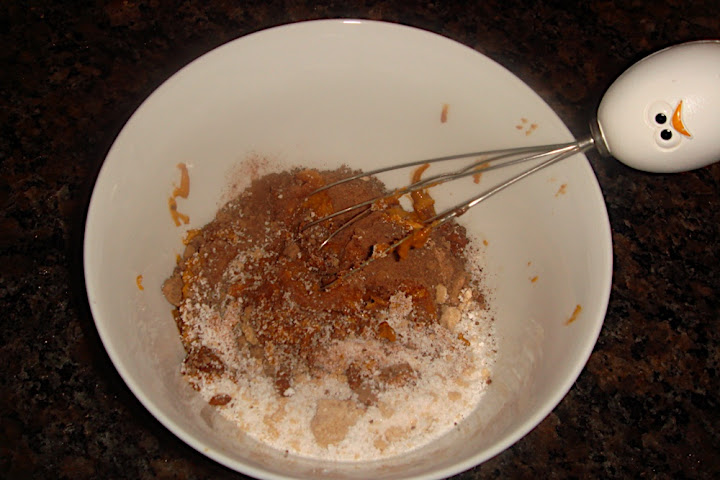
In a bowl, add PB, sugar (3 tablespoons is about sweet enough), and bittersweet chocolate powder (1 tablespoon, and I understand they were not called for in the original recipe, but I'm Anna, so I'm going to add this). Mix well. My egg whipper is going to be making an appearance throughout this post.


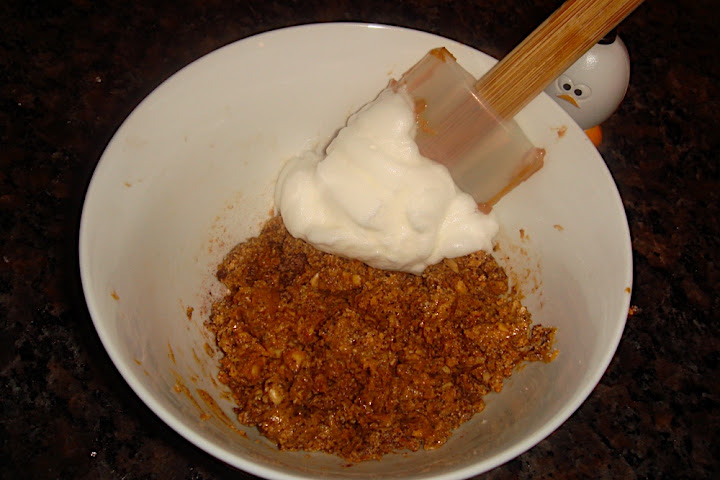
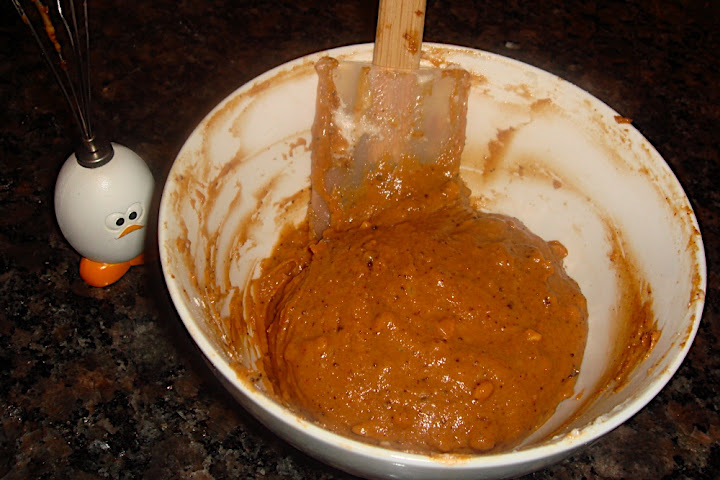
Now, fold in the egg whites about a 1/4 amount at a time. The texture will get creamier and creamier.


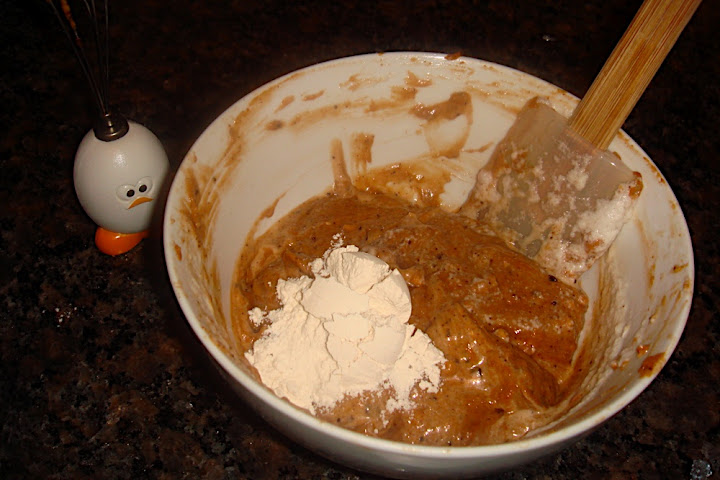
But why stop here, right? I was so upset about not knowing what to do with Whole Wheat Pastry Flour that I decided to add in a good tablespoon of it here. Because for some reason, I just thought that it might magically work itself out in this recipe.


After some good folding and mixing, the mixture started to look pretty promising. I actually thought, for a moment, that it might all work out in the end and I will end up with some delicious cookies. [play buzzer sound]


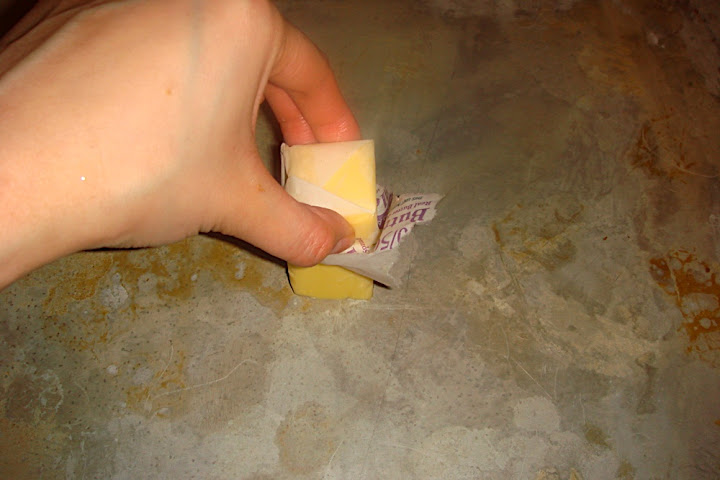
Lightly butter the cookie sheet. I love this part only because I get to use butter.


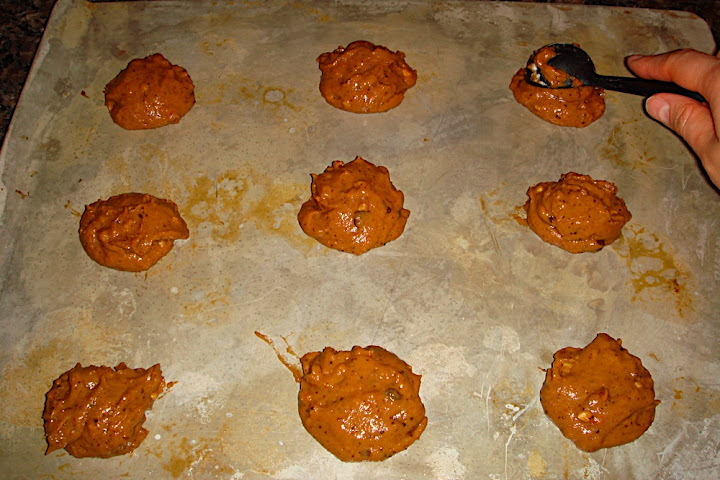
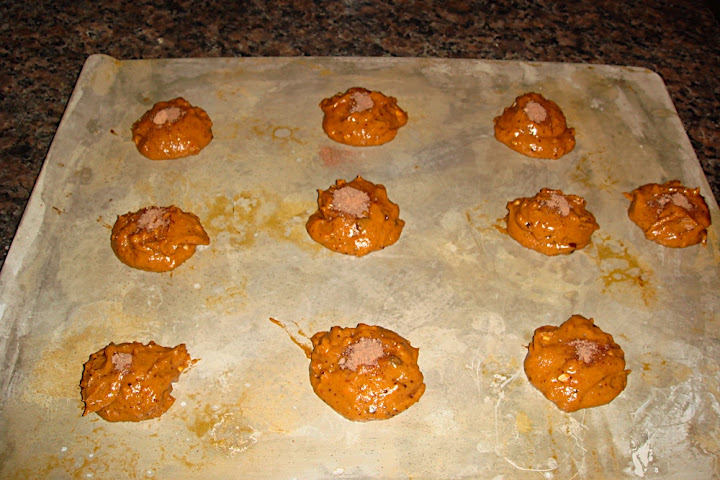
Using a measuring spoon (or any other ball-shape making utensils you like) to scoop the dough onto the cookie sheet.


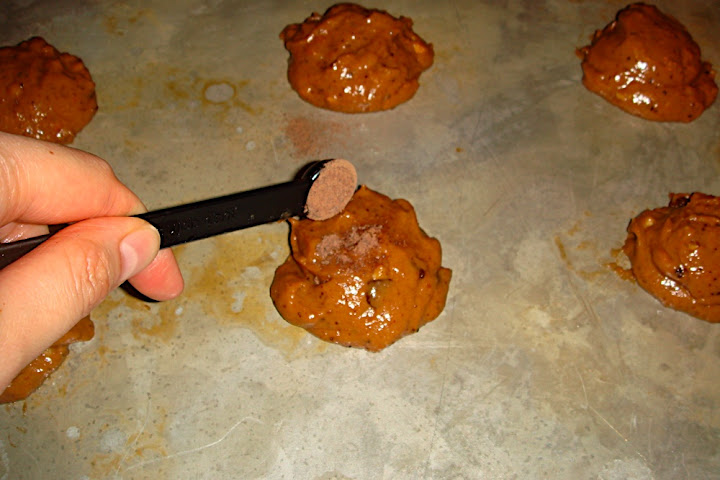
Spoon some chocolate powder on top of the cookies.


One extra for good luck. I really needed it especially when I tweaked the recipe like this. Pop them in the oven for about 20-25 minutes. I baked mine for 20.


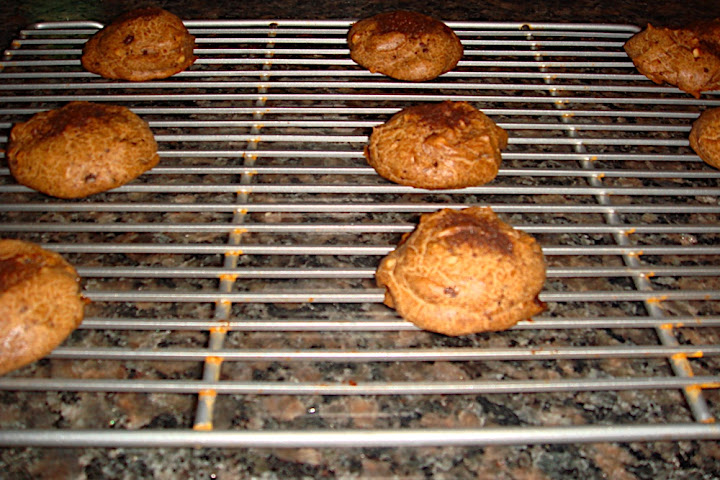
Take them out and cool them on a rack. So far, not bad looking.


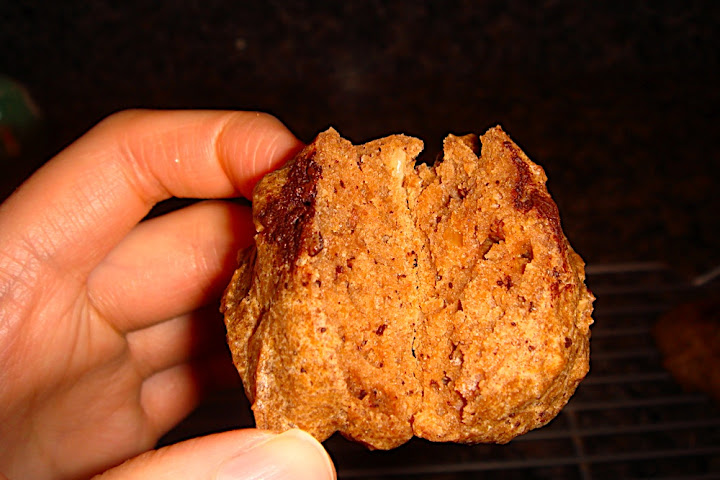
Okay, the cookies had a nice chewy texture but it was just a bit dry. They weren't terrible but just not the best. I think maybe all purpose flour might have worked out okay but with whole wheat pasty flour, I probably should have also added a whole stick of butter.


It's a good recipe. Just don't add flour.