Showing posts with label Dessert. Show all posts

Monday, December 13, 2010

Crustless Spiced Pumpkin Pie

Again, we all know that I'm quite against making crust so hence more crustless pies. Again, I often say I'm a poor baker so you must know that this recipe was super easy to make. It was. It really was. Please go and preheat your oven to 350 degrees. All you will need is a nice mixing bowl, mixing spoon, 9" pie dish, and 1.5 cup of flour, 1 can of pumpkin, 1 cup of sugar, 1 cup of butter*, 1 T of fresh grated ginger or 1/2 tsp of ground ginger, and a 1/2 tsp of cinnamon.

I made this pie for my building's holiday party and I'm glad to report that my plate came back empty! The whole spread was so nice and everyone really made an effort to make the event so much fun. Even though the Pats were playing, most ppl just took moments to run upstairs to check on the score and back downstairs to enjoy good food and conversations. Even my swollen-ankle guy made his way down to try the homemade chocolate chip cookies that I have promised to make but not yet made for him. The party was really quite nice and I must admit, everyone in this building is so kind.

*I used a lightly salted butter. If you're not using salted butter then remember to add a 1/2 tsp of salt to your mix. Melt it over low heat.


In a large mixing bowl, add your flour, sugar, and can of pumpkin.


Cinnamon. This is a must add ingredient during this time of the year.


Grate some fresh ginger. I recommend this over ground ginger but again, use whatever you have on hand.


Then pour in your butta. So awesome.


Oh la la. Your apartment must be smelling so decadent right about now.


Mix well. This part is quite easy. Just make sure you get all the flour coated. So keep folding for a bit.


Grease your 9" pie dish and pour in the mix.


After 25 minutes in the oven at 350 degrees... It was smelling quite nice.


I sliced it up, not perfect, and added a few dashes of cinnamon. YUM!


On top of that, we ordered takeout from Kashmir since the weather in Boston was quite treacherous with thrashing rain and 50 MPH wind. Food at Kashmir is always great... plus free delivery!

Black Sticky Rice Dessert (Bee Koh Moy)

This dessert turned out part Malaysian and Vietnamese. How cute? My other half is half Malaysian - get it? The Malaysian variety includes a knotted pandan leaf but instead of that, I added toasted salted sesame seeds, which is often found in Vietnamese glutinous rice desserts. The dessert is so straight forward to make and the flavor, texture, and deliciousness make this dish just divine! I also brought some to the office and everyone enjoyed it. Even my sunshine found it to be tasty albeit it not being too sweet unlike American desserts.

I used one cup of black glutinous rice, 1 cup of coconut milk with 4 T of raw sugar and 1 capful of vanilla extract, and 1 TSP of raw sesame seeds toasted w/ some oil and a pinch of kosher salt.

In a large pot, I cooked 1 cup of rice with 2 cups of water over low heat and covered. Please excuse the steam in the photo.


After 15 minutes, I removed the rice and placed in a colorful bowl. The texture is still slightly al dente. I like that.


I just love the color! The deep purple hue is so beautiful.


In another pot, I added a can of coconut milk, 1 capful of vanilla extract (feel free to add pandan extract if you have that instead), and sugar.


I allowed the coconut milk to cook over low heat until it starts to boil then I took it off the stove.


In a small pan, I toasted the sesame seed over low heat. It took about 10 minutes to brown.


In a bowl, add some rice and top with the toasted sesame seed. How awesome does that look so far?!


Such a simple dessert to make but yet so elegant.


Now top with the coconut milk and enjoy!

Sunday, November 28, 2010

Crustless Nantucket Cranberry Pie

I don't usually bake pies but since this is crustless, it's a green-GO for me. As I have mentioned in other posts, I can't really make crusts because one, I can't believe the amount of butter it takes to make crust, and two, it's way too damn delicate to handle. Hence why I make so many crustless quiches and in any case, it's healthier and just as tasty. :D

I'm excited for tonight because I finally get to try the Craigie On Main Burger! According to some gourmet food magazine that my friend read, it says that the CoM burger is the best burger in MA. I've tried many burgers so let's see how this one matches up to the rest. Gosh, was Einstein so right about the theory of relativity or what.

Anyway, this pie is super easy. You will need,

2 cups of cranberries (I used frozen ones b/c once upon a time, I bought a 3LB bag of it)
1 cup of flour
1 cup of sugar
1 cup of melted unsalted butter (2 sticks)
1 T of flaxseed meal (optional)
1/4 tsp of salt
1/4 tsp of cinnamon
1/2 tsp of vanilla extract

some recipes call for a 1 cup of chopped walnuts (add this if you have it, i didn't)

and a greased (no, it doesn't come grease so grease it with some butter or neutral oil) 9 inch pie dish.

NOW go set your oven to 350 degrees.


Measuring my cup of flour.


I used organic raw sugar from Trader Joe's but feel free to use white granulated sugar.


I added 1 T of flaxseed meal to help make this pie somewhat healthier.


Measuring two cups of cranberries. It was not exact so don't worry about being super accurate.


Pour the cranberries into a bowl with the flour, sugar, and flaxseed meal.


Add salt.


Coat the cranberries.


Coat them well. Set aside for a bit.


Melting my butter. I got my pot too hot so my butter started to brown so don't wait too long before dropping in your stick of butter. Not that there is anything with brown butter either...


Whisk eggs and cinnamon.


Add butter.


Pour the wet mix into your dry mix. Simple, right?


Fold the ingredients.


Should look nice and gooey like this. It's so delicious - yes, go ahead and put your finger in there. Now taste it. How good is that?!


Pour batter into your pie dish, evenly, please.


After 35 minutes in the oven.


After additional 5 minutes... pie heaven.


Must enjoy with a scoop of vanilla ice cream!

Wednesday, April 21, 2010

Childhood Memories III: Chè Đậu Xanh Bột Báng (Vietnamese Mung Bean Dessert w/ Tapioca & Coconut Milk)

When I was a kid, my mother made this dessert whenever she felt that I needed internal cooling from eating too much "hot" foods. No, not spicy hot but foods that causes your body to heat up and affect your overall health. It usually includes a diet of rich foods, spicy foods (yes, that too), oily foods, highly processed foods, etc. Despite its "medicinal effect", I really enjoyed this dessert and acknowledged my mother's diagnosis of my body's need for internal cooling, even though as a 6 year old, I couldn't careless what that really meant as long as I got to eat this delicious dish.

It is very simple. Seriously. All you need is 1 cup of mung beans,1/2 cup of tapioca, 1/2 cup of coconut milk, and as much honey as it takes to sweeten your soul. I needed a 1/4 cup. I know that some families make this traditional dessert with sugar but I have always preferred honey.

Now let's get going!

First, you just want to boil the mung beans until they are soft. This will depends on your texture preference. My mother always overcooked the mung beans until they were super soft but I really prefer them al dente.

So in a medium sized pot, add 4 cups of water and boil your mung beans and check on them every 10-15 minutes for your almost desired texture. I say almost because you're going to continue cooking this dish with the other ingredients so let's plan on not overcooking. However, you might really enjoy the beans much softer - so who knows.


When your mung beans have almost reached that desired texture, add 1/2 cup of tapioca and 1/2 cup of coconut milk. Continue cooking on low-medium heat.


After about 20 minutes, when it seems like the ingredients are well fused (loving this word), add your honey.


Continue cooking until you feel that the mung beans are just right. It is done when it has a nice thick and creamy texture. Serve warm and enjoy! You can definitely refrigerate this dish and reheat it whenever you need to.

Sunday, April 18, 2010

Whole Wheat Dark Chocolate Brownies w/ Godiva White Chocolate Liqueur

I had too much fun last night and debated since 7:30 AM whether or not I would be able to make it to my 12 PM personal trainer appointment at Healthworks. Staying very much in character despite a splitting headache, I rose to the occasion like a champ and showed up right on time with a 2 liter bottle of Smart Water. Thank goodness today's appointment was more Q & A, taking some detailed measurements, and completing a simple fitness test.

It turns out I am taller than I thought I was. YEAH! I used to think that I was 5'4" and a 1/4, but today, I learned that I'm actually 5'5" and 1/8th. Although I have gained a bit more than 10 lbs since my first year of law school, my waist measurement was 25" - man, I can't imagine what my waist size was like just a couple of years ago. However, my goal is more about being healthy than losing weight. I just want to lose body fat and gain muscle mass. In fact, my body fat percentage at 18.4% which is considered below average for women my age and size. With that said, of course I made brownies with a whole stick of butter (rarely, rarely do I make anything with a whole stick of butter).

Since I used whole wheat flour in this recipe, I would recommend adding an extra stick of butter (or substitute apple sauce) especially if you prefer that moistness in regular brownies. Don't ask me why I decided to use ww flour again... I think it might be my obsession with the word "whole" when it comes to describing foods.


RECIPE: 1/2 cup ap flour, 1/2 cup ww flour, 3 eggs, 1 cup butter (2 sticks or 1 stick butter & 1 cup of apple sauce), 6 ounces of melted 72% dark chocolate + another 3 ounces of milk chocolate for the dipping sauce*, 1/4 cup of Godiva White Chocolate Liqueur, 1/2 tsp baking powder, 1/4 tsp salt.

*I decided to use extra chocolate instead of sugar.


Turn your oven to 325 degrees.

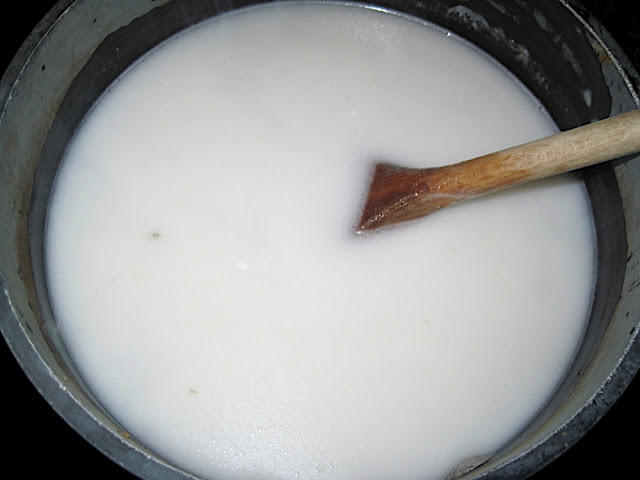
In a double boiler, melt your chocolate. Again, make sure everything you use is dry b/c water will ruin this.


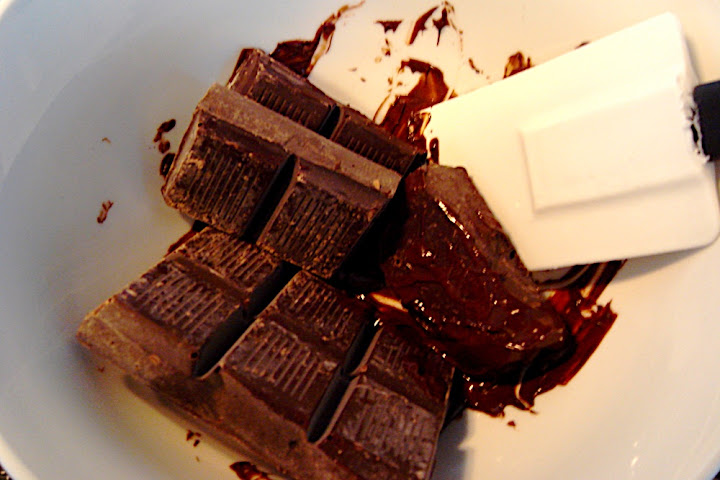
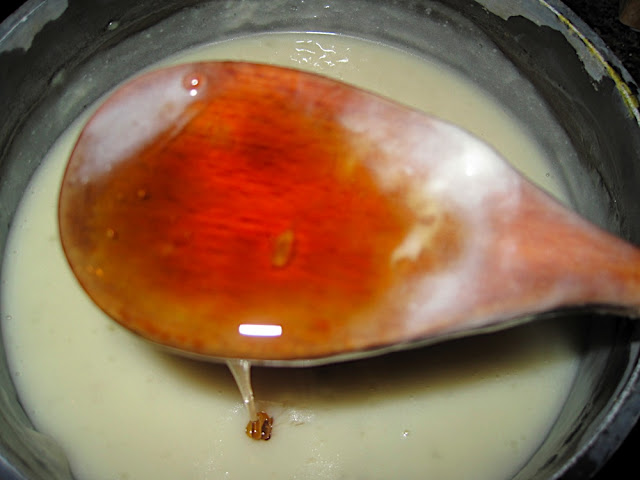
When it's almost all melted. Throw in your stick of butter. This is the "easier" method or what you can do is cream the butter and eggs in a mixer then fold the flour into it later.


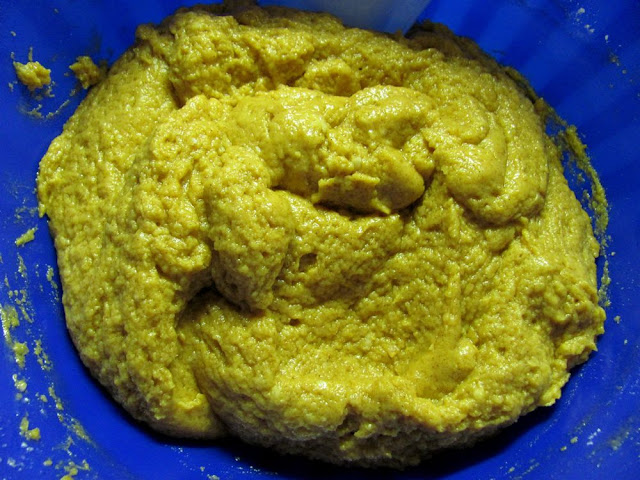
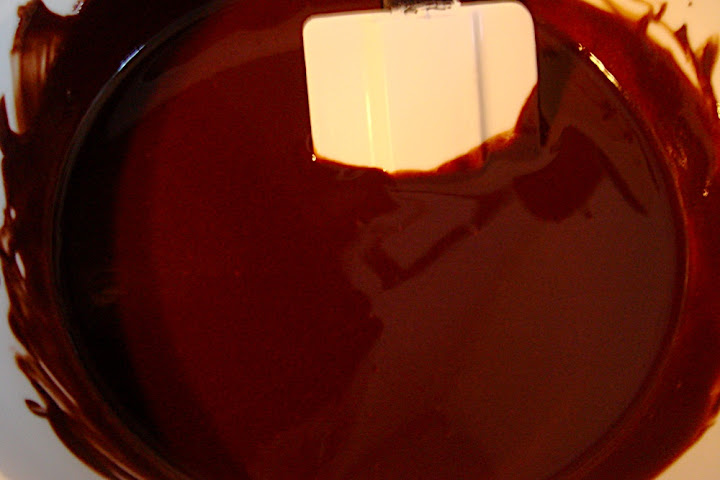
After 10 minutes or so, it should look like this and make you wonder why you don't make this recipe more often.


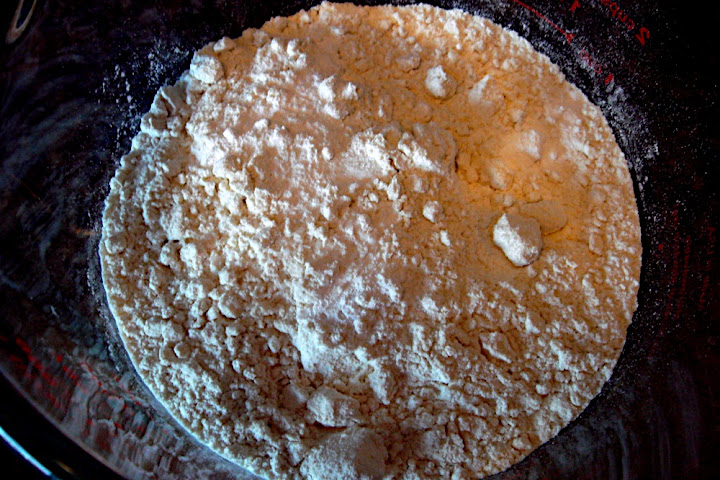
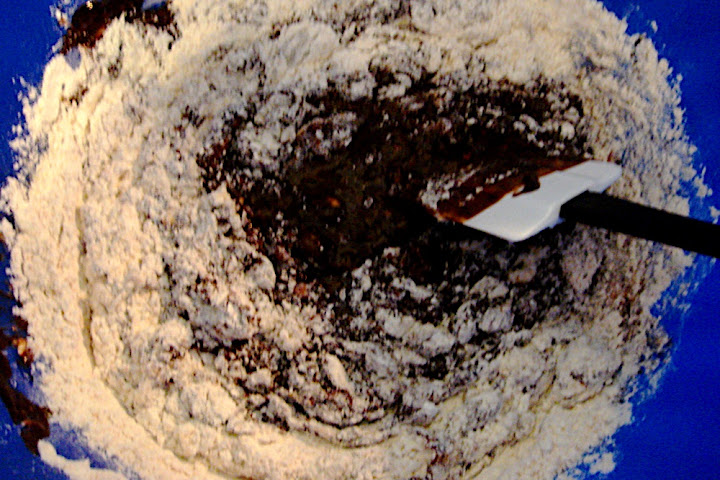
In a separate bowl, shift flour, baking powder, and salt.


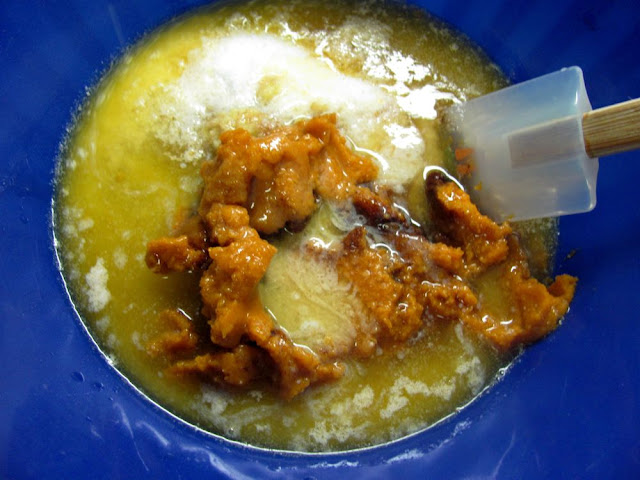
Pour your beaten eggs and chocolate mixture into the flour and combine well.


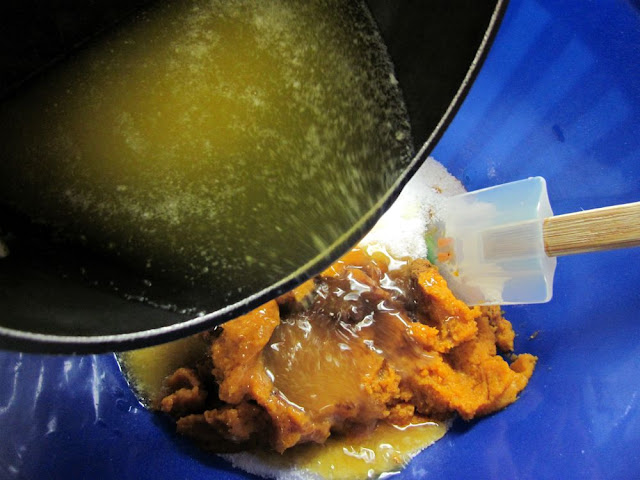
Spread batter onto your well greased baking dish and add the liqueur. You can do it like this (Anna's way) or the smarter way, pouring it into the batter, i.e., the step before this, and combine well then pour onto baking dish. As you can see, I need more baking dishes.


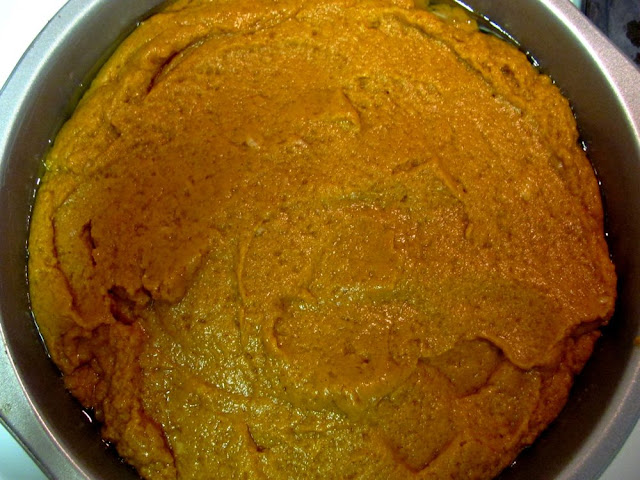
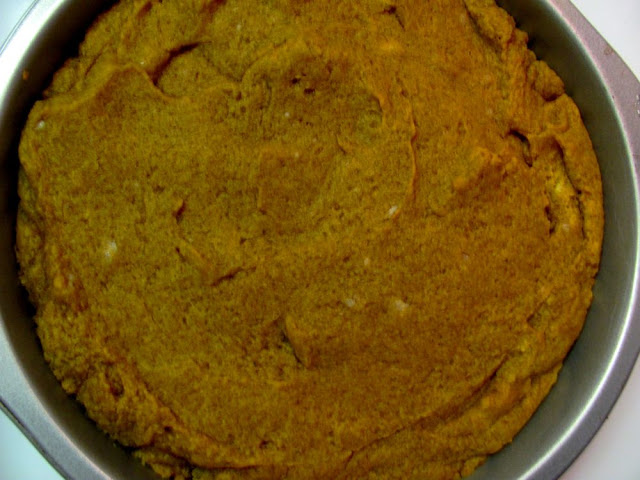
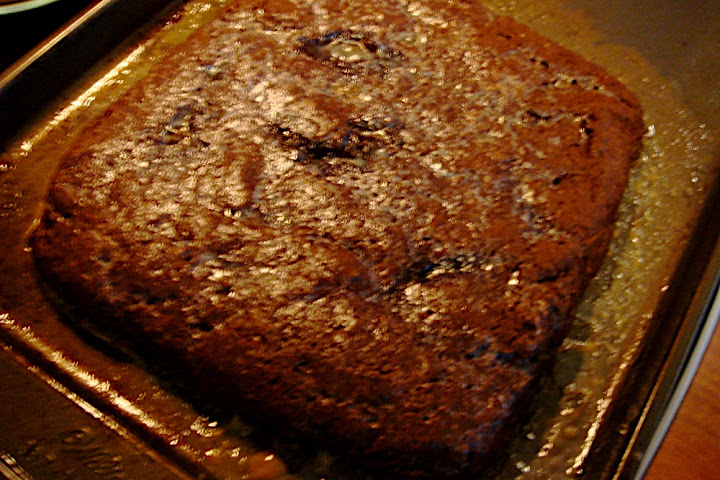
After 20 minutes in the oven, it should look something like this (not the best photo). Cut it up into desired shapes and wait for it to cool before dipping in melted milk chocolate.


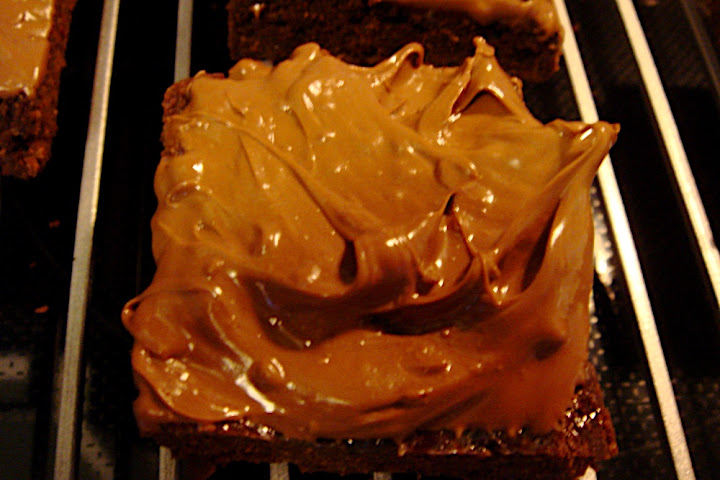
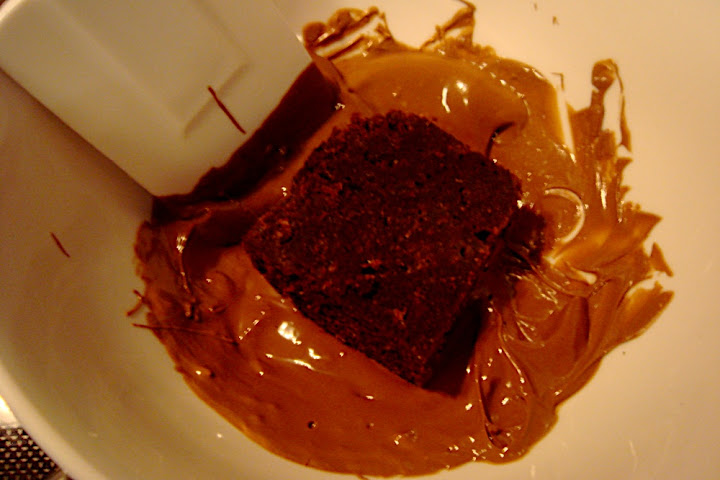
In a double boiler, melt 3 ounces of milk chocolate. Dip your brownies like this. This = what the photo below depicts. I'm out of words.


Then place it on a rack to cool.


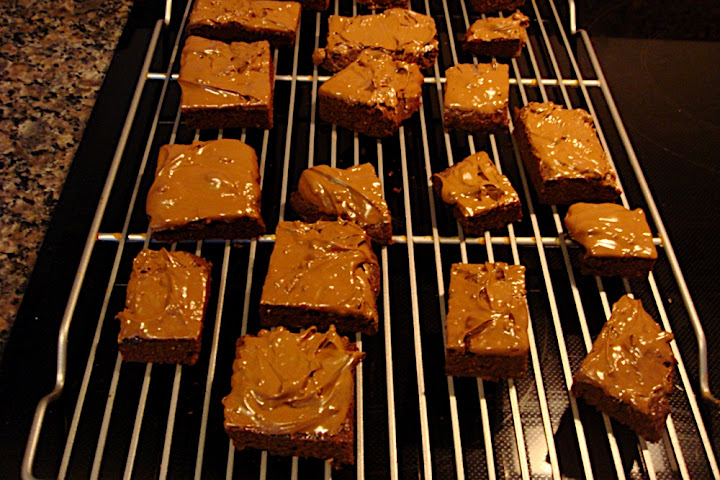
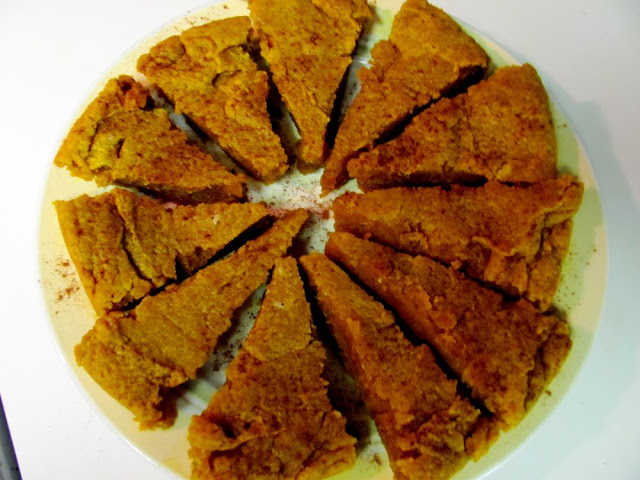
Serve these to your friends. Remember to surprise them with the fact that they're eating whole wheat brownies, collect your oohs and ahhs, then surprise them again with how you had to double the butter recipe to using 2 sticks instead of 1. :D